Showing posts with label Furniture. Show all posts

Thursday, March 10, 2011

Clock Top Table ~

DIY | Inspiration

So yes, I love clocks...not the digital-annoying-wake-you-up kind, but lovely clocks with detailed hands and rustic faces. I was sad the day this one no longer worked. He is big and grand, but sadly not in the misfit closet. So I pulled him out the other day determined to find a use for his lovely face.

Remember this Goodwill table?

Well, if you add a large clock face to a kinda-boring table, you get a one-of-a-kind side table with just a touch of whimsy!

Yes, it is possible that your hubby may look at you sideways, but you might just fall in love. 

Before:

After:

When the weather gets a bit warmer, I might give that base a nice coat of black...or maybe find a new home for my lovely clock face altogether.

Ah, the beauty of an ever evolving home!

A larger table? check
A use for my lovely clock? check
A fun unique piece? check
Hubby renewed love for my creative side? we will see! 


Circle of Moms.com is voting for the top 25 Home Design blogs.


The list is filled with some amazing blogs, and if you enjoy mine, please feel free to give me a vote!

Monday, September 27, 2010

I Still Love Mirrored Furniture ~

Design | Inspiration 
 I don't know about you, but I still adore mirrored pieces. I love how they can open up a space by providing a reflective illusion of more space.

 traditionalhome.com

 horchow.com

 decorpad.com

I find them simply romantic and glamorous...
 housebeautiful.com

 ruemag.com

 horchow.com

decorpad.com
 traditionalhome.com

decorpad.com

How about you? Do you see the glamor and romance in these pieces too?


Thursday, May 27, 2010

Another Refinishing Project Coming Soon ~

Here is a table my neighbors were giving away for free -

I like the size the shape - ah and the detail.
I am thinking maybe a black finish with a little bronze distressing - any ideas? I have no idea where it is going to go, but I just couldn't turn it down!

I am also in the process of refinishing a kitchen table  - and I must say, I have a new appreciation for all of you who do this as well as you do, it is a lot of work!


Tuesday, May 18, 2010

My Stripped Table is Stained ~

I have been meaning to show you guys my recently stained table after my first stripping experience. Remember this guy I picked up for $14.99 -


It was super shiny and the top was hammered. After stripping, I was thrilled with the results.

I then had to decide to paint or stain - now I usually would go straight for the black paint, but I am trying to make sure that not everything in my house is black...so I grabbed these -

I started with the Antique Walnut, but wanted it to be a bit darker. So once dry, I applied the Bombay Mahogany. And here it is -

I must say, I think I would like it a bit darker still. 

And truly, I would love to see it black - hold me back!

(And I have been on the hunt for the perfect table lamp for this table).

Do you see that fabulous vase?

It is from Kris at Cafe Couture - she was one of the vendors at the Spring Soiree - I just love the vase! And the lovely roses from Mother's Day (thanks Chris and DeeDee).

 So for now it will stay stained, but who knows what the future will hold!


Friday, April 30, 2010

My $20 Dollar Craigslist Table ~

So remember this table I picked up on Craigslist for $20 bucks?

Good lines, super sturdy and perfect for a little storage. 

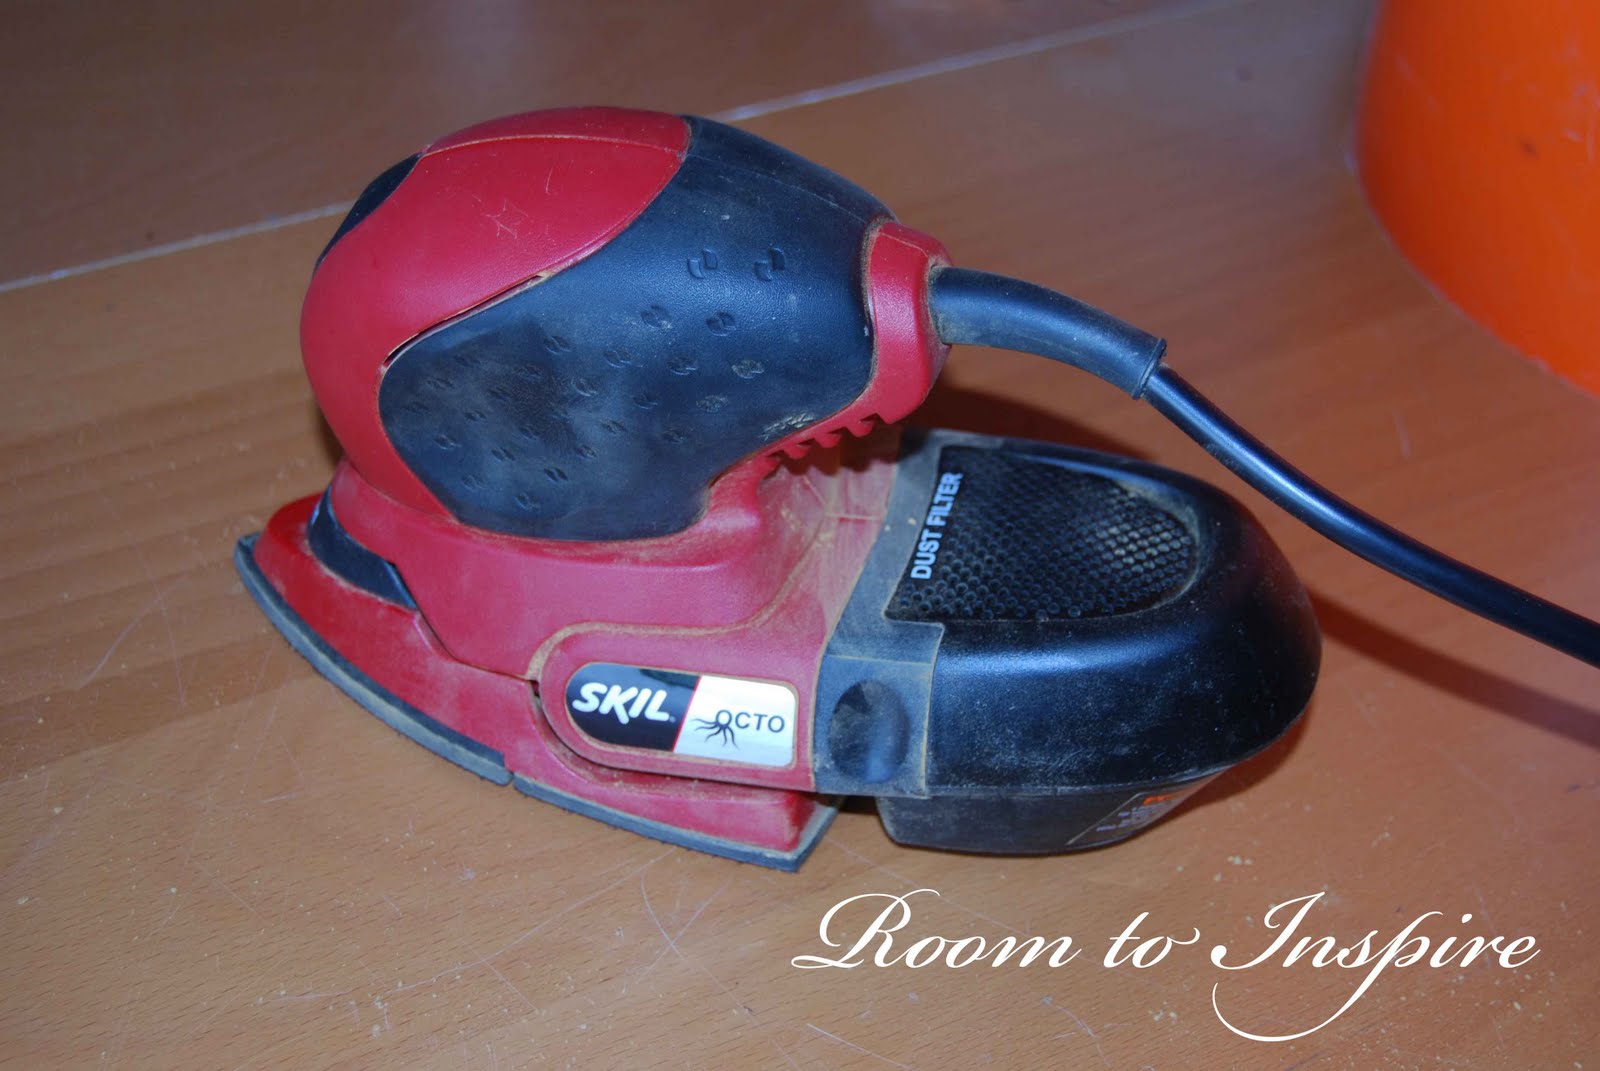
I decided it was going to live in my "new" craft room. So I grabbed my favorite hand sander...
Yes, Octo Sander, that is you!

After a good sanding - did I mention the Octo Sander has attachements? - I grabbed the same painting supplies I used on my craft room dresser. 

I painted it black, and when it was dry - just a little bit of sanding to finish it off.  Oh, and I took of the hardware, gave them a good scrubin' and used a little Oil Rubbed Bronze spray paint.


And here is my lovely $20 Craigslist table (sorry for the bad photos the sun was shining in, but I am not complaining)!


So all one needs is a little sanding, a little painting - and of course the time to scour Craigslist!

Today is the last day for the Parade of Homes over at Poppies at Play - be sure to head over and check out the great homes for today.

Linked to:
Home and Family Friday at Home is Where my Story Begins
DIY Day at A Soft Place to Land


Tuesday, April 27, 2010

Blah Dresser turn Craft Room Organizer ~

After the sale this past week, my "craft room" was a disaster a little messy. So I decided it was time to really organize my new space. Now I am sure you are all like me and have a ton of little things that need to find homes - so I decided to bring down a dresser that has been shoved in a closet upstairs. Here is the before:


It is a super sturdy piece - I believe it is teak...

I gathered my supplies

and I began to sand with this bad boy - oh, yes I am in love with my Skil Octo Sander!

I then painted the dresser black

Once everything was dry, I sanded the edges and brought him inside to his new location.

Now he looks good, but he needed a little character. So I stenciled on a number for each drawer - inspired by Miss Mustard Seed and Funky Junk Interiors.

The numbers were a bit bright, so I added a little stain to them and ta-da!

I love my new dresser (aka craft room organizer).

Linked to:
Transformation Thursday at The Shabby Chic Cottage
Under $100 Link Party at Beyond the Picket Fence
Furniture Feature Friday at Mustard Seed Creations
Saturday Nite Special at Funky Junk Interiors
Home and Family Friday at Home is Where My Story Begins

Monday, April 12, 2010

Stripping for the First Time ~

  Now, just to be clear - when I say stripping, I mean this kind -


Yesterday afternoon, I dove into my first stripping experience. The sun was out, the kids were down for their nap and I had a couple hours ahead of me. I started with this table that I picked up from the Goodwill for $14.99.


The top was a bit hammered...

So, I started there. I was initially thinking I would strip and stain the top and paint the bottom black. Here it is right after I applied the Citristrip.

And here it is with the top stripped and almost clean.

Now at this point the top was lookin' great and the bottom was just SO shiny,

So, I decided to be crazy like that and strip the bottom. Now do you see that bottom - all of those details, I am not exactly sure what I was thinking. 

But here it is, all stripped and (mostly) clean! As you can see the weather changed dramatically from beginning to end and I was sure I was going to get rained on...so the rest of the prep work will be today.


I know this is kind of a long post for just a strip job, but I was so excited after my first experience. I feel much more seasoned now and ready to tackle the re-staining!


LinkWithin

Related Posts with Thumbnails