Showing posts with label DIY Christmas. Show all posts

Monday, November 22, 2010

Ballard Designs Knock-Off Ornament ~

DIY | Holiday Inspiration

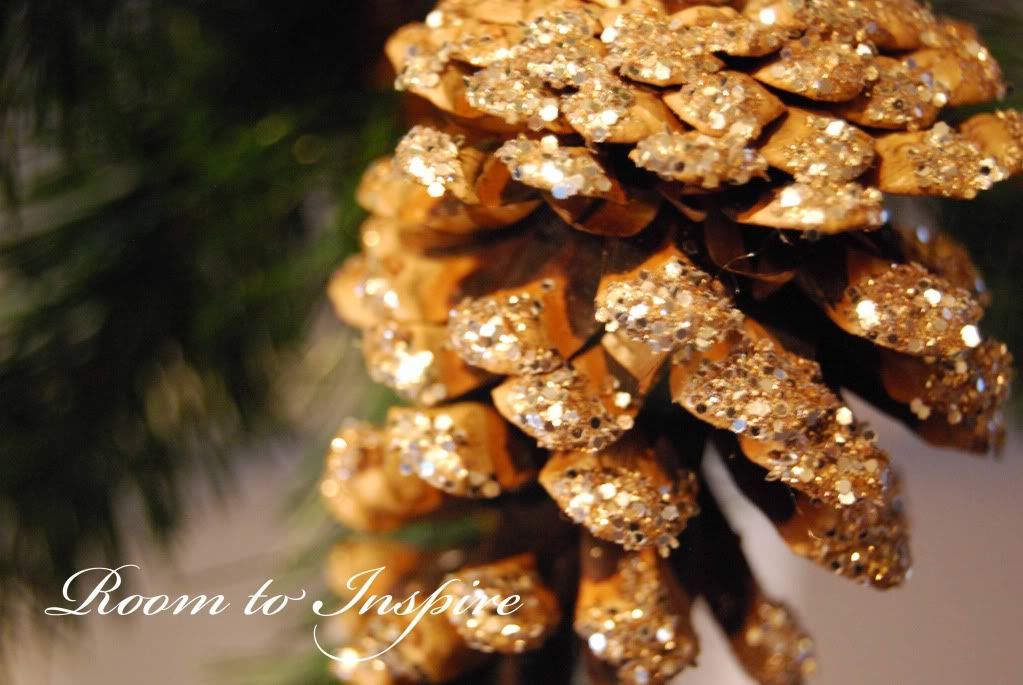
I know I  have told you before I have a thing for pinecones, so when I say these lovelies at Ballard Designs I knew I wanted them! But, I thought "I can make these".

So, here are the supplies you will need:
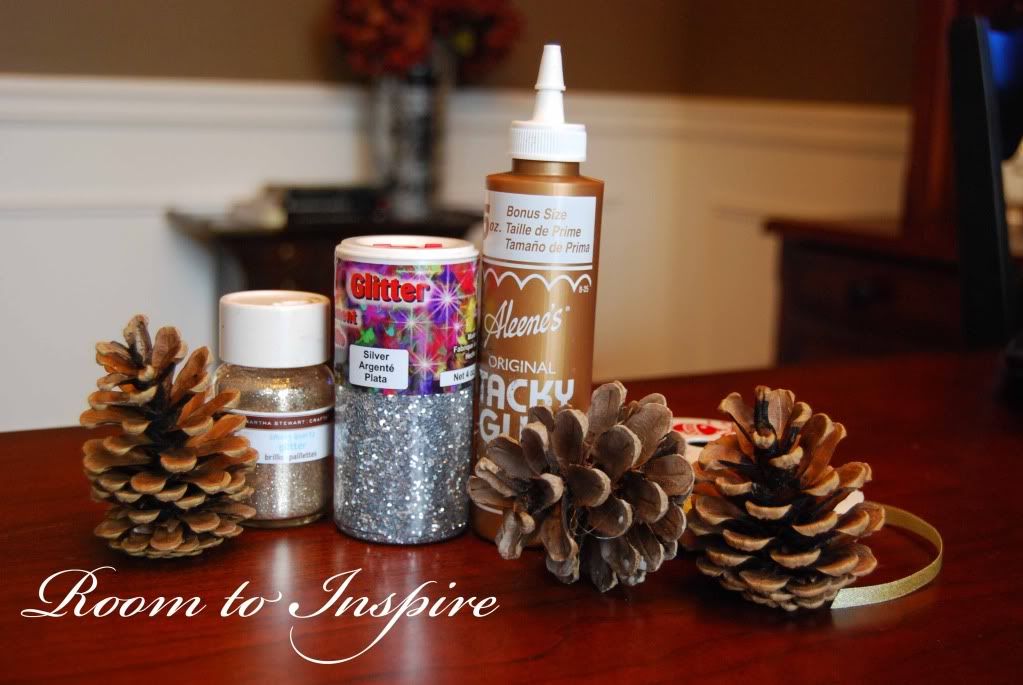
  • Martha Stewart Smoky Quartz Glitter
  • Silver Glitter
  • Glue (I used Aleene's Original Tacky Glue)
  • Pinecones 
  • Ribbon
  • Hot Glue Gun
I started by putting on the glue (I pulled out a brush, but it was just as easy to use my finger).
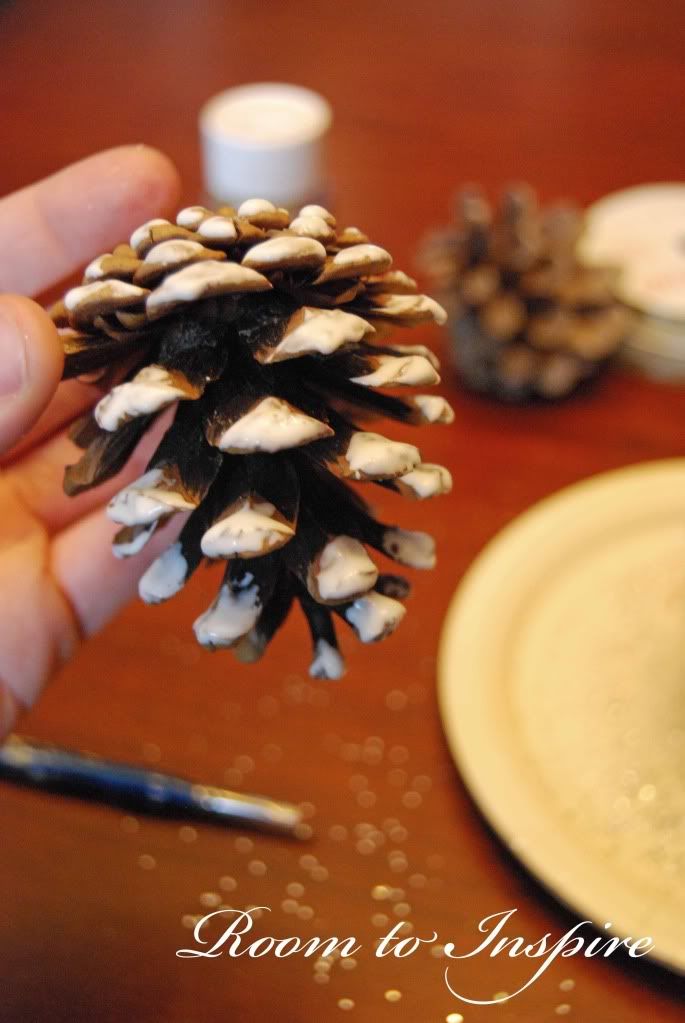
I then sprinkled on both kinds of glitter.
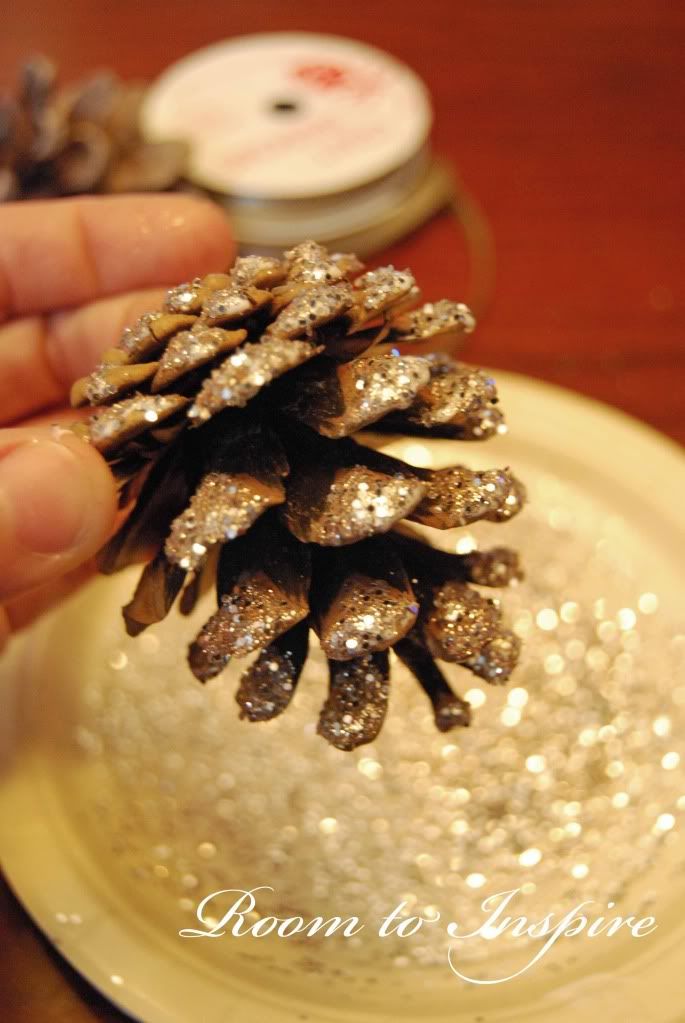
I then let everything dry for a few hours. 
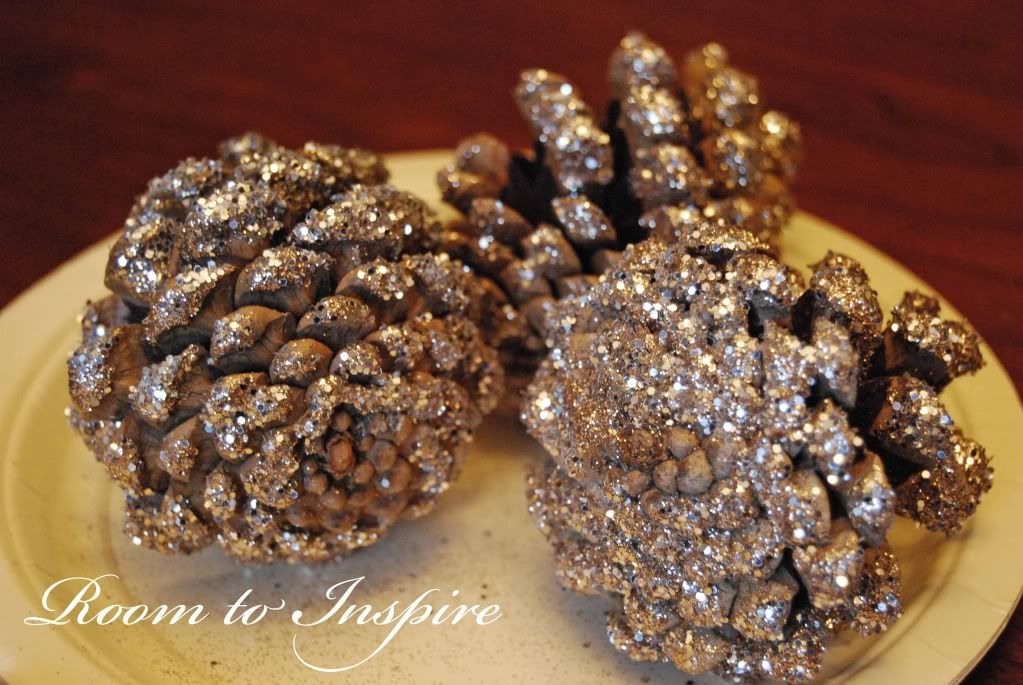
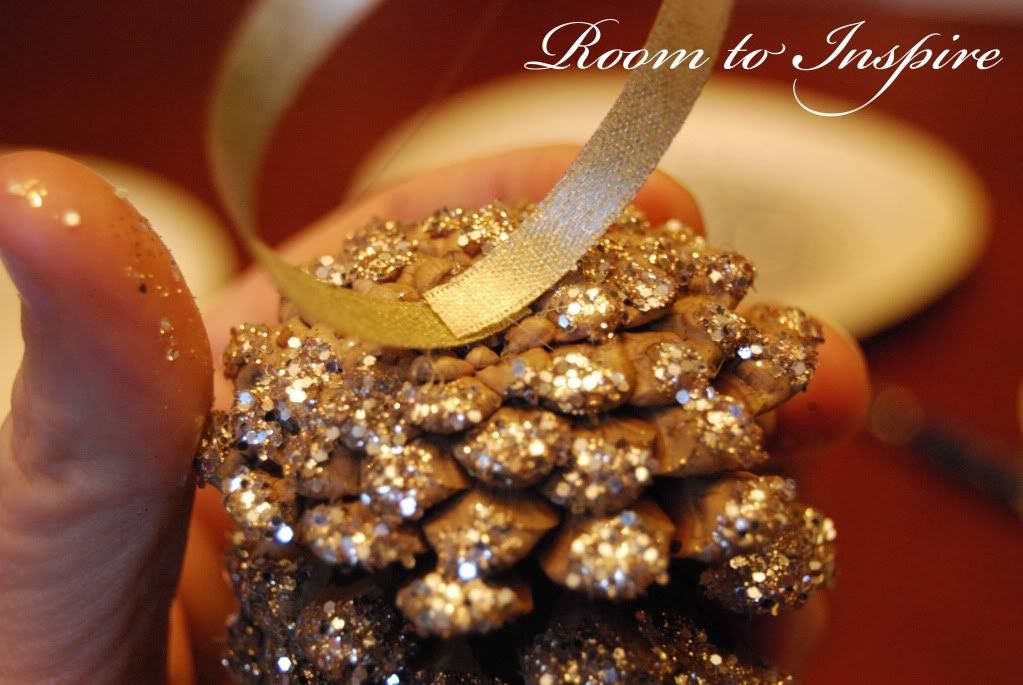
Once dry, I hot glued a ribbon hanger to each pinecone.
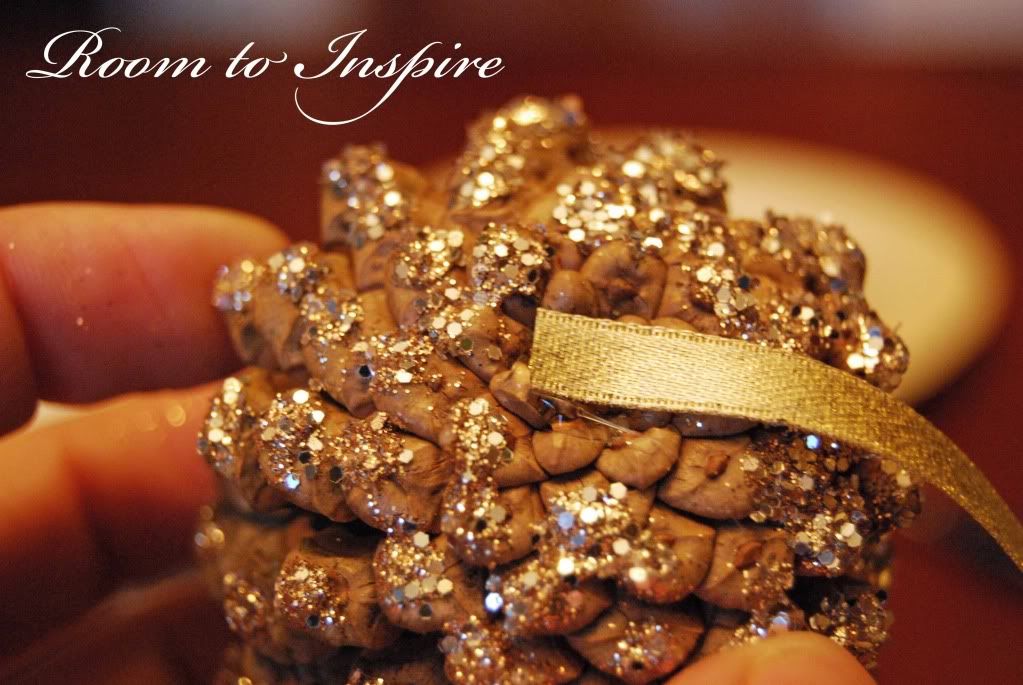

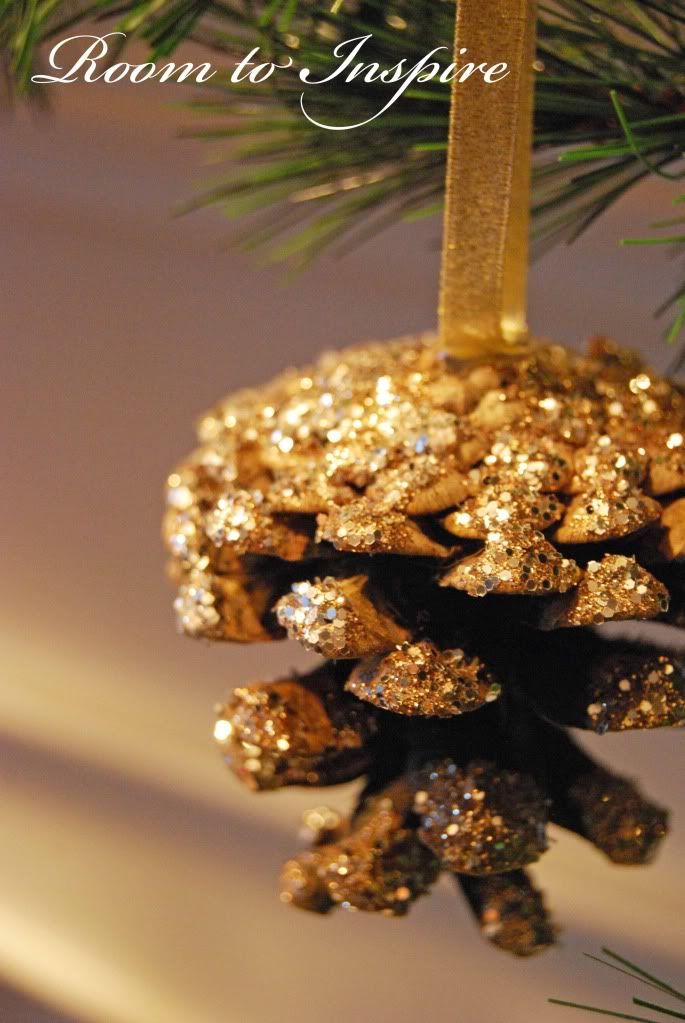
And viola! I had everything on hand, so these bad boys were free! I think these would also be great without the ribbon and simply stuck into a garland or any holiday arrangement. And you could really use any color glitter (you could even add really small beads for a chunkier look) and any ribbon you have on hand.

Monday, December 7, 2009

.99 Cent Dollar Trees Turned Glorious ~


I picked up three of these trees at the Dollar Tree a few weeks ago.

And I kept thinking - man these babies are bright. And then I saw Alyshia over at Let it Shine glazed hers and they looked great. So, I grabbed my Metallic Paint and rubbed on - rubbed off.

Then I painted these "knobs" gold...

Added a little Spanish moss, some sticks and stuff and whaala -


I added this project to DIY Day over at A Soft Place To Land.

Linked up to The Shabby Chic Cottage's Transformation Thursday.


Wednesday, December 2, 2009

Ballard Designs Inspired Ornaments ~

So as I was flipping through my recent Ballard Designs catalog, I landed on these (6 for $19.99) and instantly thought "I can make these". And yesterday I did...

I started with a Goldfish box - any cardboard or even heavy card stock would work great - but this I had on hand.

I then sketched out the bird, cut it out and traced it onto the cardboard.

I grabbed my exacto knife and waala - we have a bird.

I then traced the cutout bird onto my sheet music -I am lovin' my Goodwill find!


I turned to the one and only Mod Podge and glued the sheet music to the cardboard cut out.

Ta-da...


I just couldn't stop and made this one as well...
I linked this project up to Transformation Thursday over at The Shabby Chic Cottage.

I also linked these to Miss Mustard Seeds Furniture Feature Friday - I know, these aren't furniture, but holiday decor indeed. Be sure to check out the party, there is also a giveaway!

Just added this project to Saturday Nite Special over at Funky Junk Interiors. I always love scrolling through all of the great ideas that join this party.

Centsational Girl is hosting a DIY Ornament Party and I added this ornament. I am off to check out all of the great ideas.

Tuesday, November 24, 2009

Holiday Believe Banner ~


I completed my latest project last night - a Holiday Banner. I had picked up these cardboard stars at Michaels in the dollar section about 6 months ago. I wasn't sure what they would become until this weekend. If you don't happen to have these sitting in your closet, you could also trace them out of thick card stock, reuse some old cardboard or even use the sides of a cereal box.

I picked up these wonderful books at Goodwill last week for $3.99 each. They are old books filled with beautifully aged sheet music.

I placed my star on the page and began tracing. Did you notice the title of the song? In hindsight I should have kept this page in tack for another project since only I - and of course now you - know that the page was originally the Christmas Song.

After all my stars were cut out, I distressed the edges.
I then turned to my computer, printed out each letter, cut them out and distressed these as well.

Then I cut out a gold circle for each star out of some paper I had on-hand. To add a little glitz, I turned to my Mod Podge and Martha Stewart glitter. I must say, I love how glitter looks, but man I think I still have it in my eyebrows.


It was now time to assemble. I glued...

I added some hanging jewels and rhinestones...

hot glued each letter to some ribbon, and...BELIEVE.

I linked this project up to DIY Day over at A Soft Place to Land and Get Your Craft On at Today's Creative Blog. Be sure to check them both out, I was thrilled to see all of the great ideas!

Just linked this project up to Saturday Nite Special over at Funky Junk Interiors. This party is always full of some many fabulous projects and tons of inspiration.


Monday, November 23, 2009

Sneak Peak ~

Here is a sneak peak on what I was working on last night. I am off on a field trip with my kiddos, but hopefully I can finish it today.


LinkWithin

Related Posts with Thumbnails