Wednesday, August 24, 2011

Power of Paint ~

DIY | Inspiration

I have been wanting to paint our bar stools for some time, but kept thinking to do it right I should strip and sand and paint and blah and blah...but I got the itch to spray paint them after this post from Beth at Home Stories A2Z. Yes, she did sand them first...and yes that is probably the proper way to do it...but I, well, didn't. 

I did however prime them first with Zinsser primer (oh, I love you) and then sprayed them with Rustoleum Black in Semi-gloss. 

They are SOOOO much better. And the fabric (newly reupholstered) looks like different fabric. And when I say "different" I mean "better".

We had the problem of our floors, cabinets and bar stools all matched making our kitchen a see of orange - lovely. 

Now there is a spot for your eyes to take a mini break.

Oh, and I did a little sanding/staining to distress them a bit. One it looks good and two it will help mask the distressing that will happen from my darling kiddos.

So if you are thinking of painting something or yours...just go do it!

Friday, August 19, 2011

Anyone know what this is?

My Mom and I picked this up at Goodwill awhile back, and I have no idea what it is? I have done a million Google searches, but haven't found anything remotely similar. 


So I come to you, my fabulous readers to find out what it is! 

It is 12"x12" and fairly heavy.
Here are a few shots of the numbers. They are increments of 6, but I am unsure what the measurements are - they are not inches or millimeters. The entire length of the "ruler" is 7.5".


And here is the back:


Any ideas??? I would love to hear them!

**Update**
Thank you, my wonderful readers, for the great responses! I would have never guessed it was a pill tile - never in a million years! So a $5 buy from Goodwill, not bad.

Wednesday, August 17, 2011

Easy Squeezy Book Aging ~

DIY | Inspiration

As my darling hubby was not jumping up and down for my latest "door art", I decided to reshuffle a few things on the bookcase. First things first, I grabbed all of my vintage books...love them! But realized I need a few more. 

So I grabbed a few "new" books (the one on the right already had a little elbow grease into it).


Grabbed my sand paper, and sanded, sanded and...yes, sanded some more.
Don't they look great?
I will fair warn you, this is messy. Like super messy, especially with the black binding. I would have showed you a shot "during" but my hands were covered. You could even go a step further and add a little Distress Ink to the edges.

I think they look great mixed right in with the vintage ones. And you can pick them up at Goodwill for super cheap!

Monday, August 15, 2011

Salvage Door ~

Design | Inspiration


So after my post about architectural details, I got thinking about a door that has been sitting in our garage for-eva. 
 
We recently purchased a new sectional - more on that later - so there has been a bit of shuffling going on. And I am on a "less is more" kick...yes, clean and decluttered. My hubby had to remind me yesterday, that we still want to look like we actually "live" in our home still! I am rambling...

So here is the bookcase in our family room: Before.
In the perfect world, it would be white with lovely molding from head to toe. 
Right now, it is this lovely (gag) wood.

Bring out the mentioned door. 
Yes, those are hints of pink! This is why is has still been in the garage.

And let the layering begin. 
First up, broken clock face.

Next, small working clock.

A little iron scroll detail. And some fabulous door hardware.


And then with a little less scroll. 

And then I played around with some books. Hum...

Lovin' the books.

I must say, I had fun playing around, but the hubby was not "into" the new/old door look. 
So onto something else.

Wednesday, August 10, 2011

Incorporating Architectural Details ~

Design | Inspiration

I have been itching to hit our local architectural salvage shops we have in Seattle.
I am super ready after seeing a few of these great images showing fabulous ways to incorporate unique pieces.


Look at that lovely island!

Fun.

Fabulous use of an old mantel.

I love this simple use for an old window.

Yes, dreamy indeed.
images: 1. yourdecoratinghotline.jpg, 2. foodandwine.com, 3. practicalenrichment.wordpress.com,  4. bhg.com, 
5. analuseeya.tumblr.com, 6. dreamywhites.com

Monday, August 8, 2011

Strawberry Galette ~

Yummy Food | Inspiration

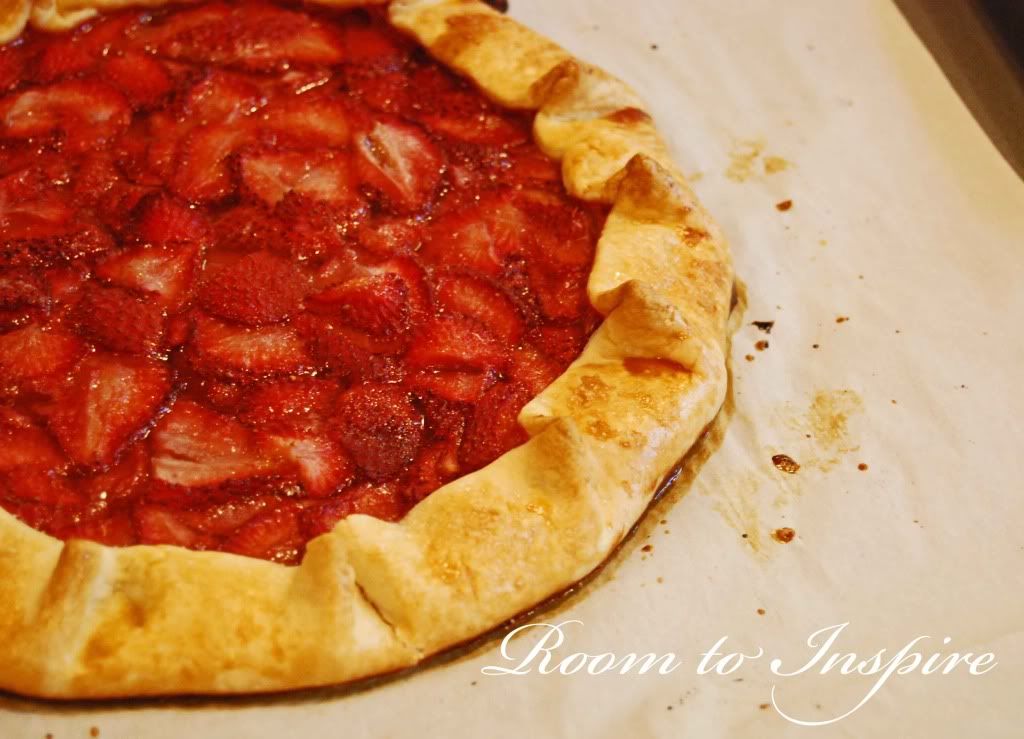
I decided to re-post this after I made it this weekend for friends, and it was just as yummy as I had remembered it. This time, we simply served it with vanilla ice cream...simple, easy and delicious! 

I recently made this yummy Summer dessert for the first time - it was one of those recipes I kept meaning to make but never did. It is from Martha Stewart Living May 2008 (I know, it took over 2 years to make it!)

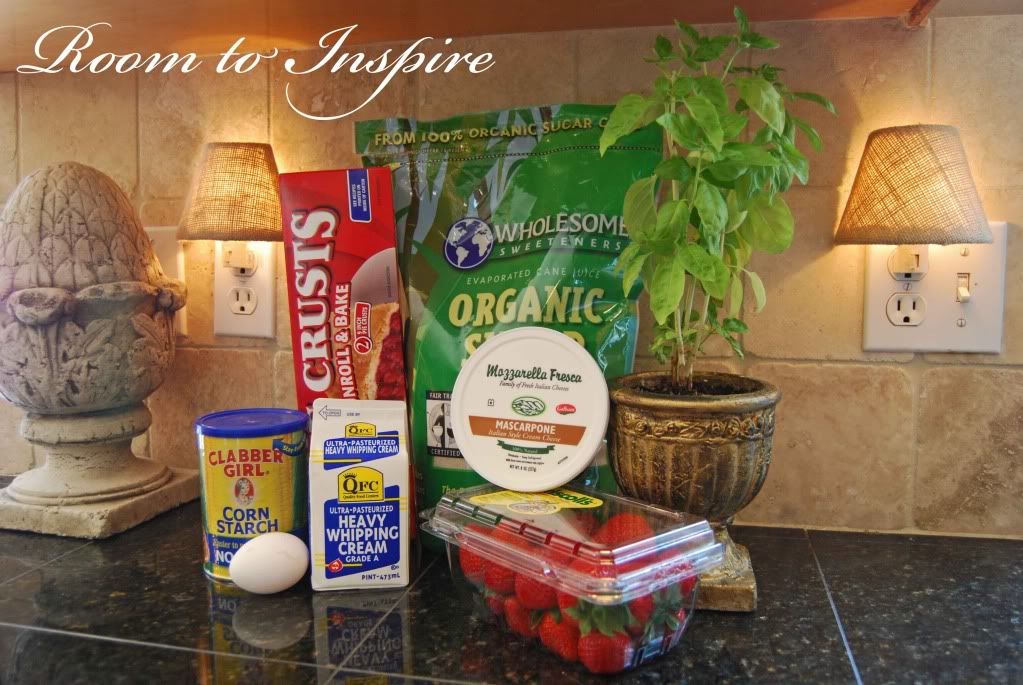
 Here are the ingredients (Martha's recipe requires making the crust, I went the loser way out and used a refrigerated pie crust):

FOR THE BASIL CREAM (This was not a huge hit)
3/4 cup heavy cream
1/3 cup loosely packed fresh basil, chopped
2 tablespoons sugar
3/4 cup mascarpone cheese

FOR THE DOUGH
I used a ready to go pie crust
FOR THE GALETTE 1 pound strawberries, hulled
1/4 cup plus 1 tablespoon sugar
2 teaspoons cornstarch
1 large egg yolk
1 tablespoon water
1 tablespoon cold unsalted butter, cut into small pieces

Make the basil cream: Combine cream, basil, and sugar in a heatproof bowl. Set bowl over a small saucepan of simmering water, and stir until sugar dissolves, about 4 minutes. Cover with plastic wrap, and refrigerate for at least 1 hour (or up to 2 hours for a more pronounced basil flavor). Strain through a fine sieve into a bowl. Add mascarpone, and whisk until medium peaks form. Cover, and refrigerate until ready to serve, up to 2 hours.

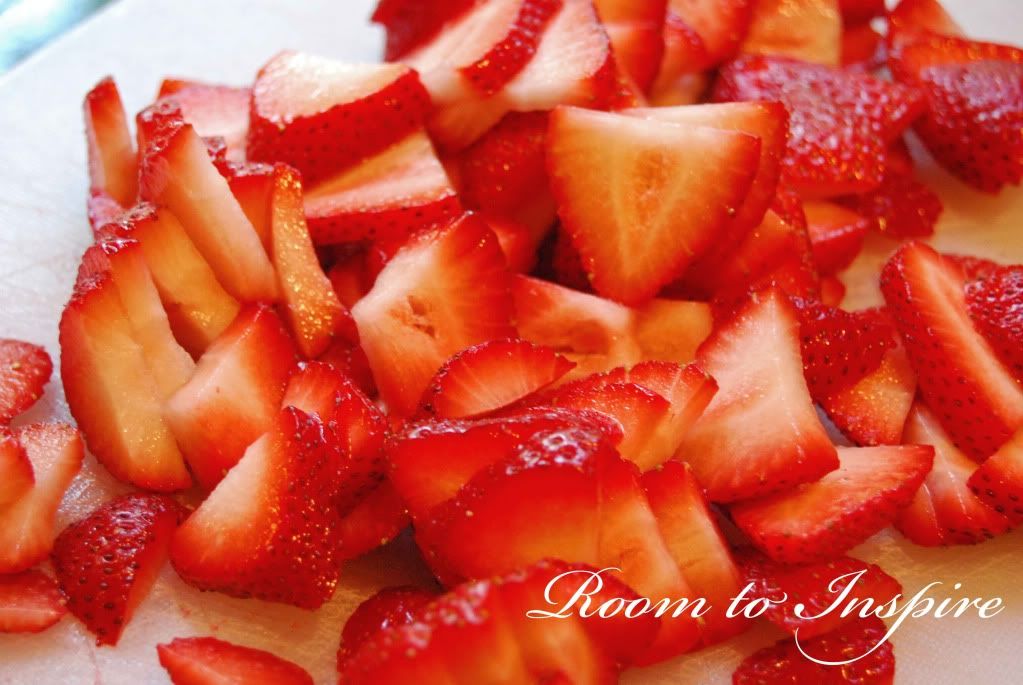
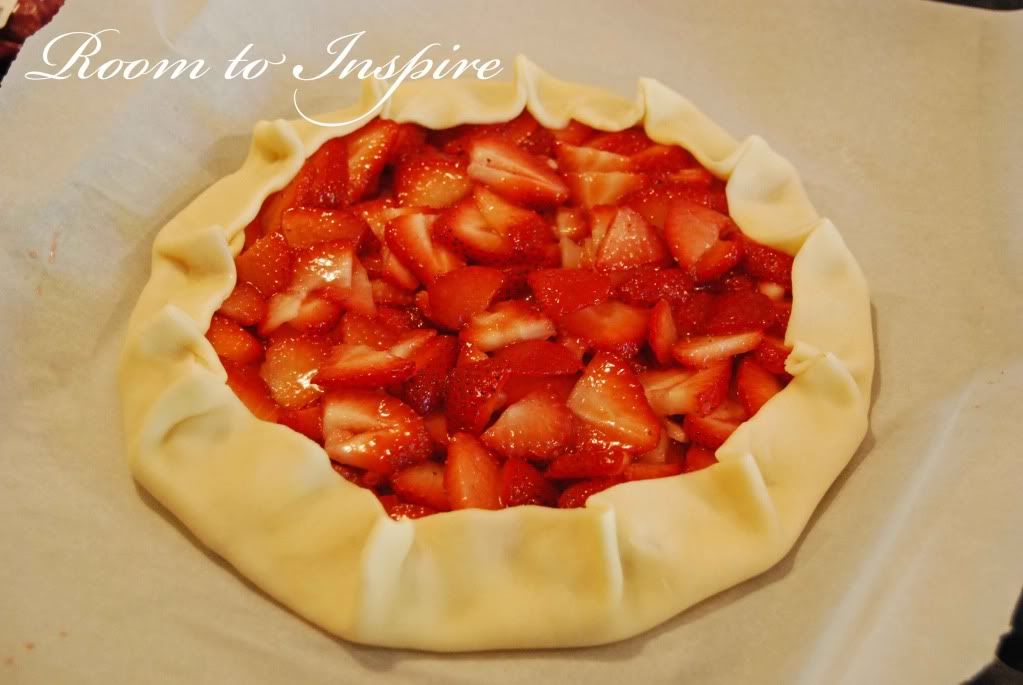
I simply unrolled my pie crust onto a parchment-lined baking sheet. Then I cut the strawberries lengthwise into slices.
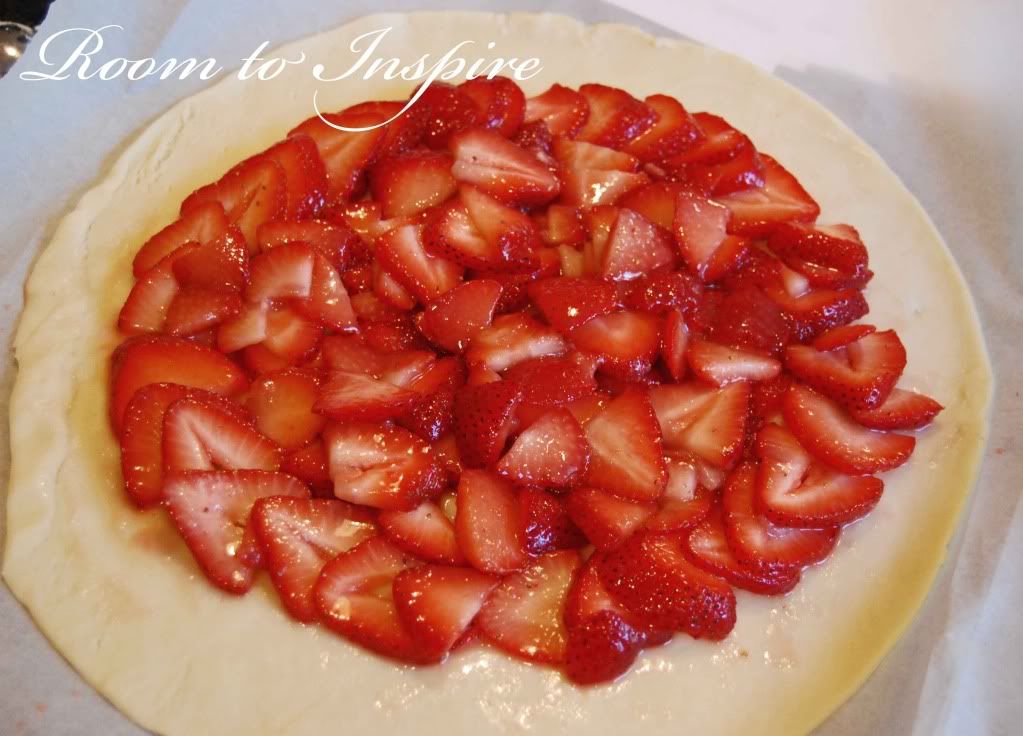
 Then toss slices with 1/4 cup sugar and the cornstarch, and immediately arrange them in concentric circles on dough. Start 1 inch from edge, overlapping slices slightly (as you can see, I started the outside edge into a circle and then just piled the rest in the center - I know loser way).

 Fold edge of dough over berries. Refrigerate for 15 minutes.
 Whisk together yolk and water. Brush dough with the egg wash, and sprinkle with remaining 1 tablespoon sugar. Dot berries with butter. Bake until crust is golden brown, 40 to 45 minutes.

 We served it room temperature and it was great. It pretty much tasted like strawberry jam in a pie crust - I mean how could you really go wrong with strawberries, sugar and crust! The basil infused cream was not a huge hit, next time I will simply combine the cream, sugar and mascarpone.

Linked to:
Weekend Wrap Up Party at Tatertots and Jello

Friday, August 5, 2011

House Tour ~

House Tour | Inspiration

I apologize for being MIA this week, our Internet has been off and on - and I gotta tell you, it is one of the most frustrating things ever! Now that is it up and running again, I found this lovely house tour on Houzz and had to share.


Living Room traditional living room


Wednesday, August 3, 2011

Restoration Hardware Love ~

My Mom and I were out with my kiddos yesterday and we popped into Restoration Hardware. You truly can get lost in that space, all of the subtle grays and creams bring you to such a relaxed and soothing state...ah, if only I could re-do my entire home, well and buy a new one with 50 foot ceilings to really bring in the calm! 


Here are a few lovelies I would like to bring into my new home:


I love this crazy over sized clock (5 feet), and for a mere $1495 who wouldn't?

These linen pin boards are fabulous. I can see them now in my studio!
I am thinking with a little reclaimed wood, these would be a great project. 

My Mom is ready to spend a small fortune on a few of these. 

And will have a couple regal lions welcoming you in. 


Yes, please.

Hello handsome.

Pinch me now. 

Mirror, mirror on the wall, you are the most fabulous of them all! 
I am thinking I need to shop some molding and pull out the miter saw.

Here is to winning the lottery!

Friday, July 29, 2011

Painted Mason Jars ~

DIY | Inspiration

So have you jumped in and painted your mason jars yet? I haven't, but oh I am close. I just love the look and what a great way to reuse!

I think the hot glue gun word is super fun too!

Wednesday, July 27, 2011

Goodwill Candlestick ~

DIY | Inspiration


Do you remember this guy I picked up at the Goodwill?

Well I painted him, sanded him and game him new life...well, at least a nice fresh look. 
Not that there is anything wrong with dusty and boring.

I love how with just a little paint and some sandpaper, you can have a totally different look.


I am out of tall candles at the moment, so a pedestal it is!

LinkWithin

Related Posts with Thumbnails