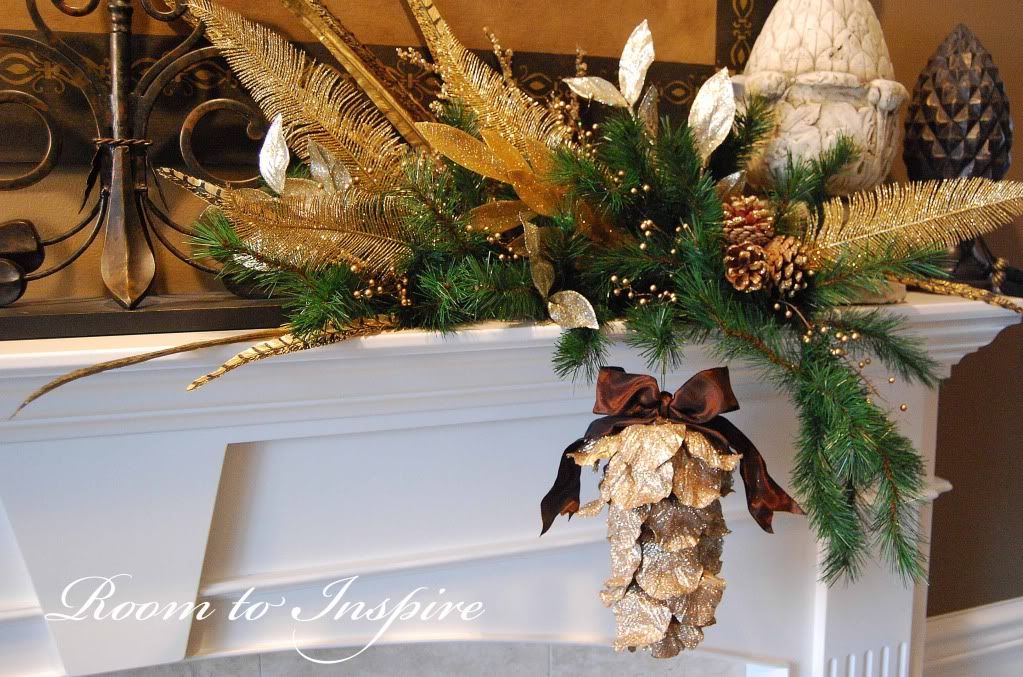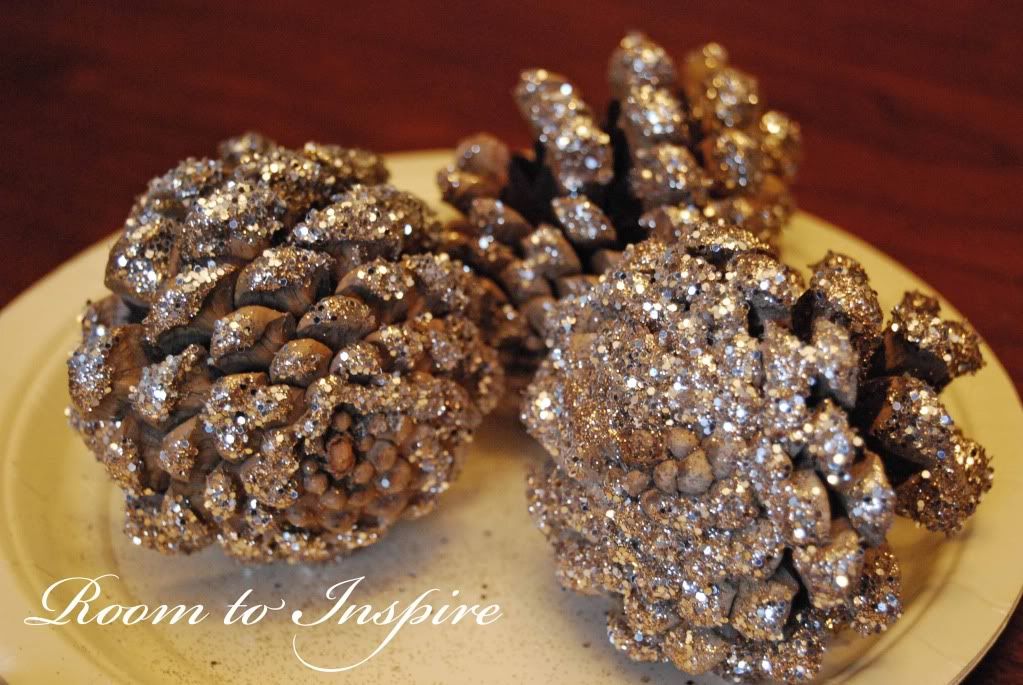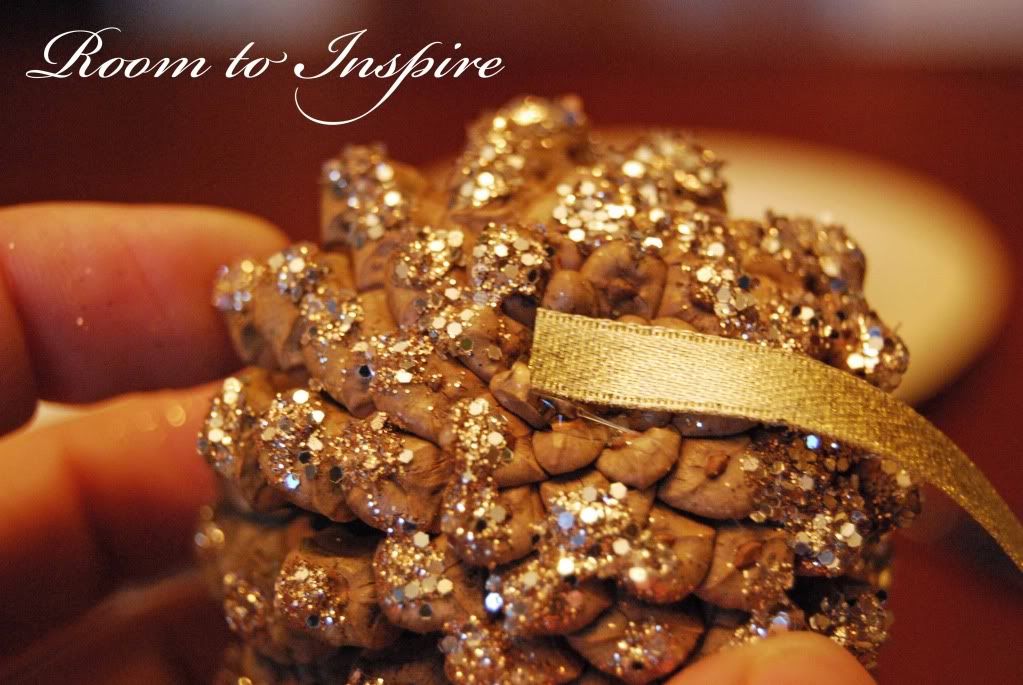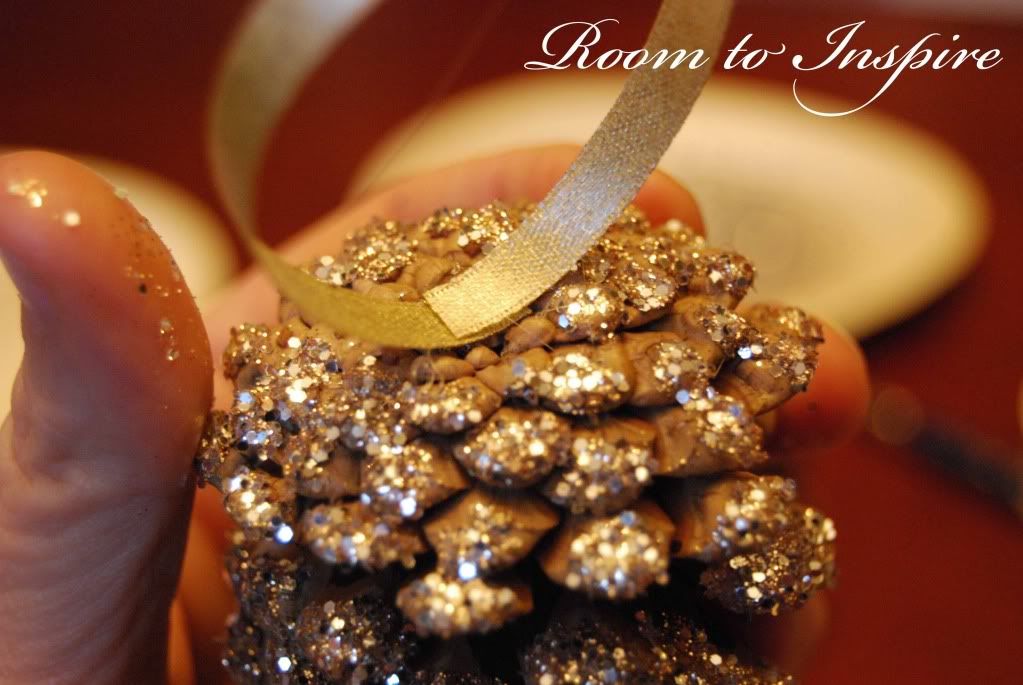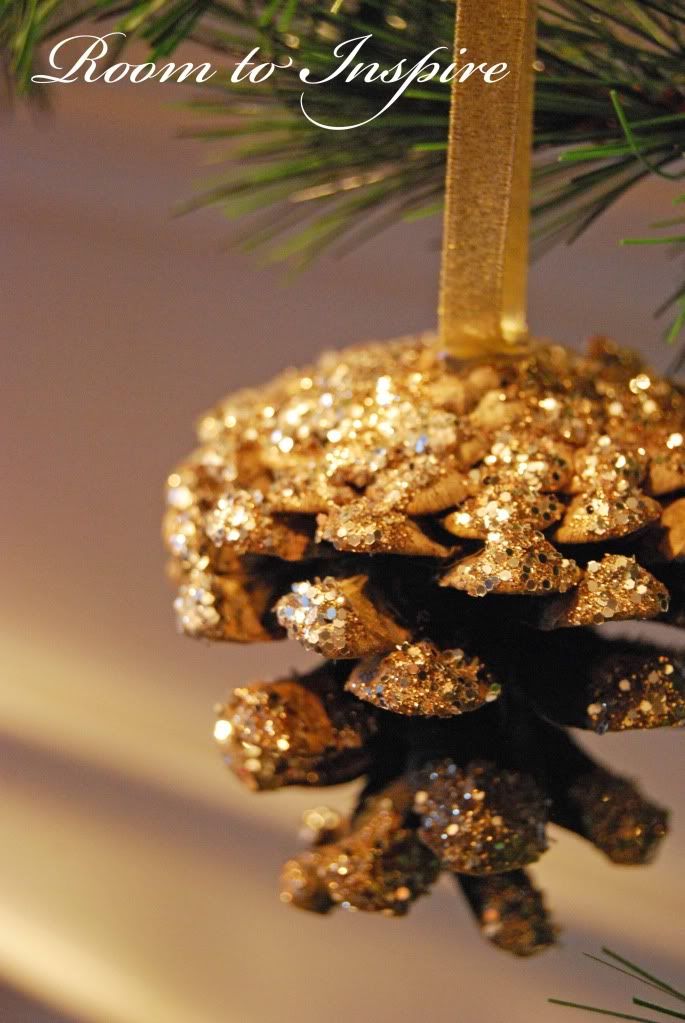
I was thrilled to participate in Stephanie Lynn's Handmade Ornament series. Here is my ornament...

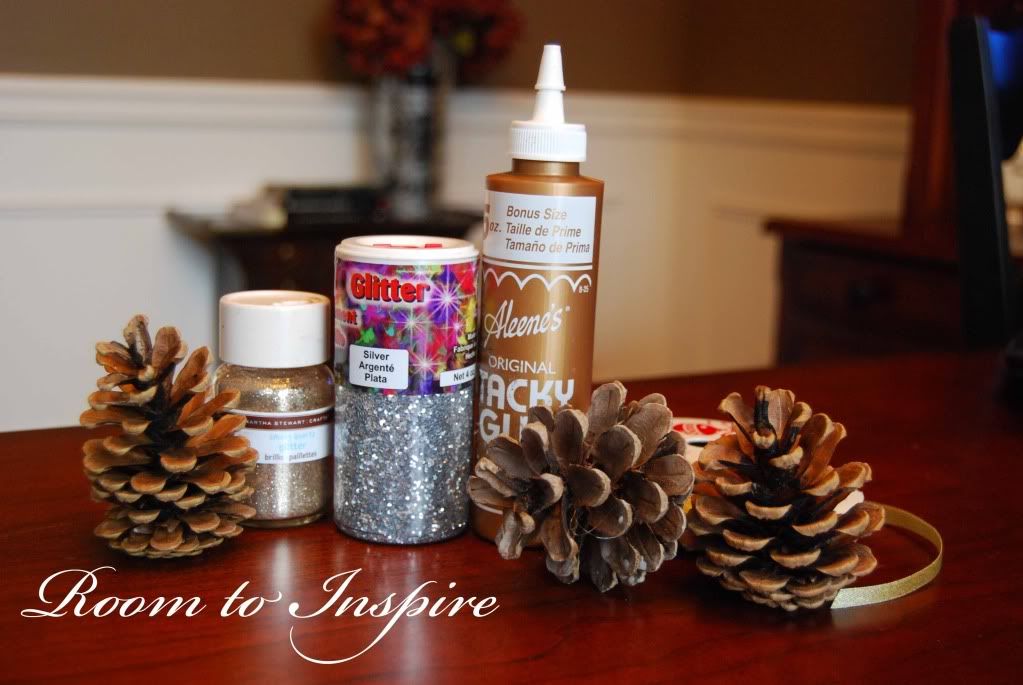
When I was out looking for inspiration I spotted an ornament that totally inspired me and I thought would be perfect for this series. Here are the materials you will need:
When I was out looking for inspiration I spotted an ornament that totally inspired me and I thought would be perfect for this series. Here are the materials you will need:
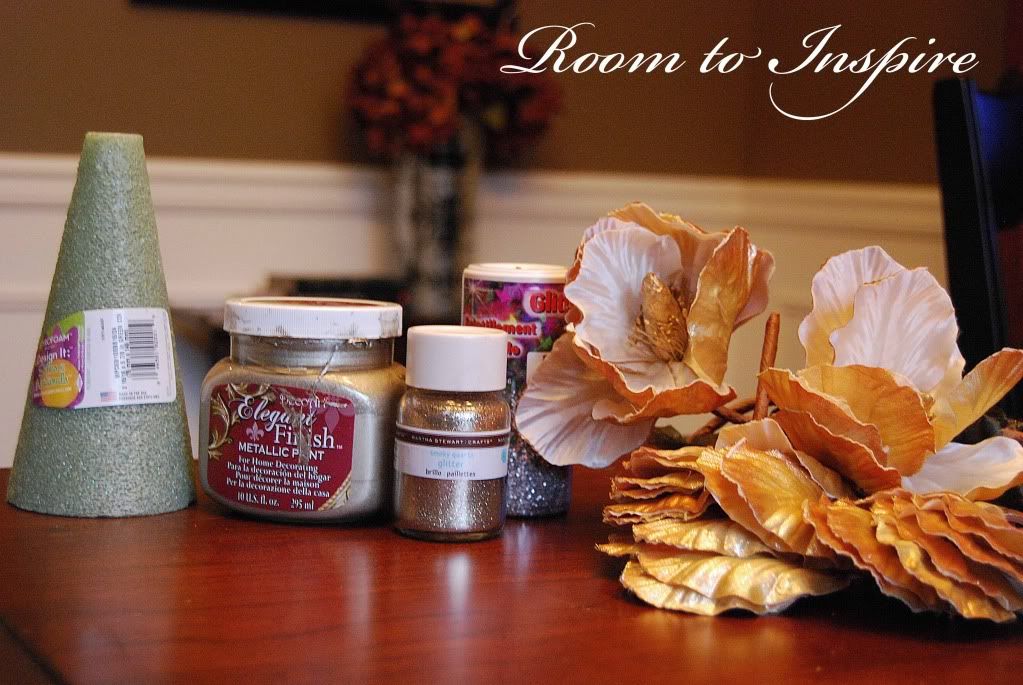
- 6" Styrofoam Cone
- Decoart Elegant Finish Metallic Paint in Champagne Gold
- Martha Stewart Smoky Quartz Glitter
- Silver Glitter
- About 25-30 Faux Petals - preferably with wire (I used roses)
- Round Bead
- Thin Ribbon or Tinsel Cord
- Hot Glue Gun
- Ribbon (optional)
I purchased the cone from Michaels for $2.99 and everything else I had on hand.
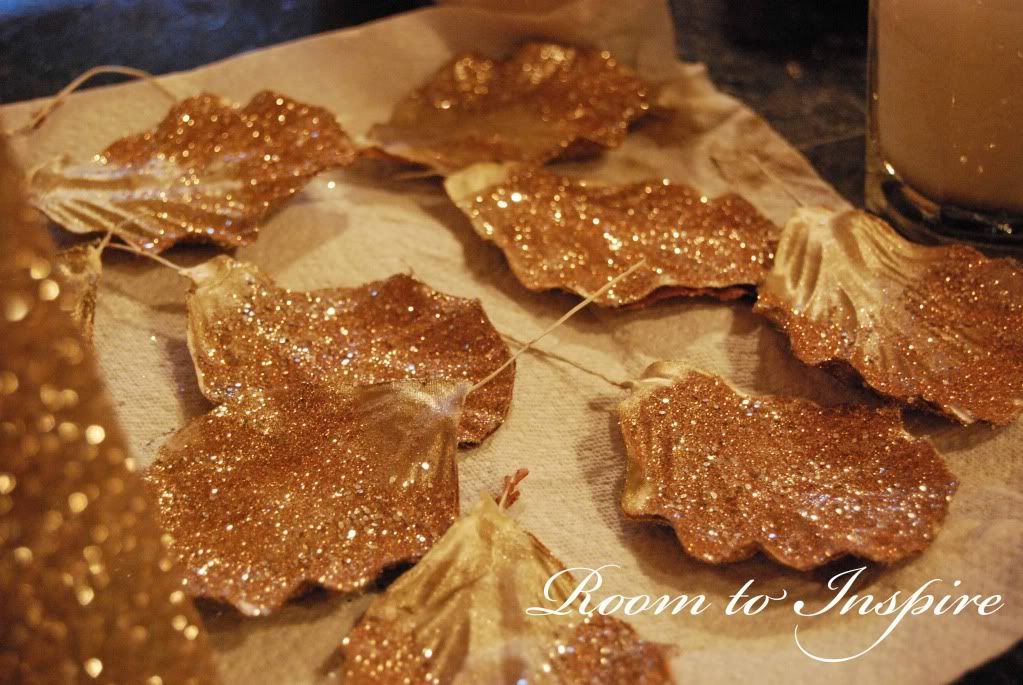
I started by painting each petal Champagne Gold.
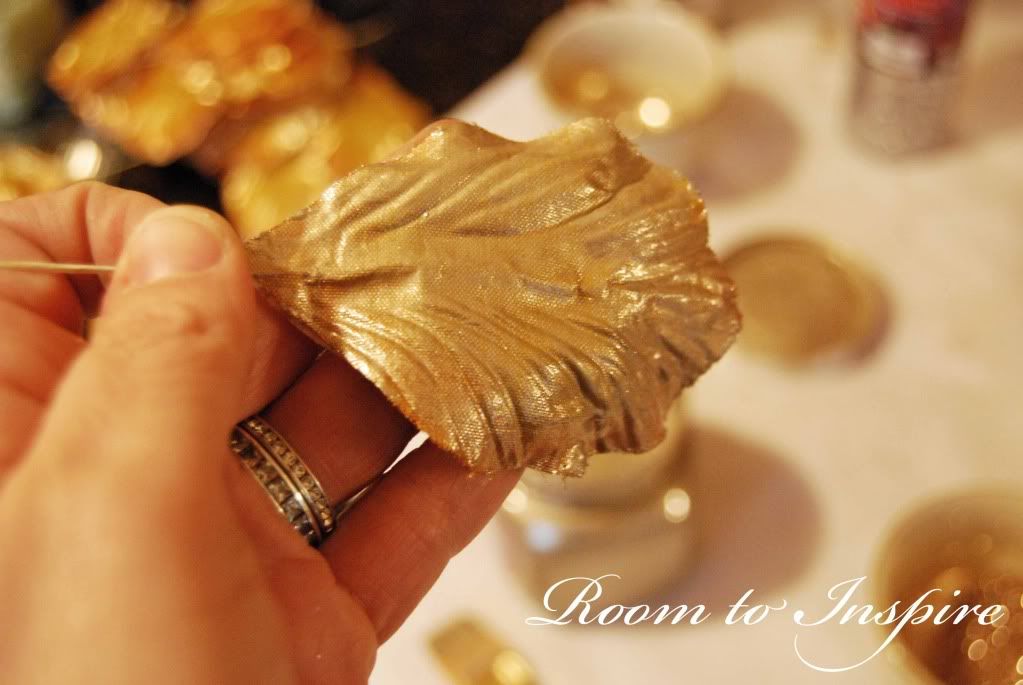
And while they were still wet, I added the glitter (I simply mixed both glitters together in a small bowl).
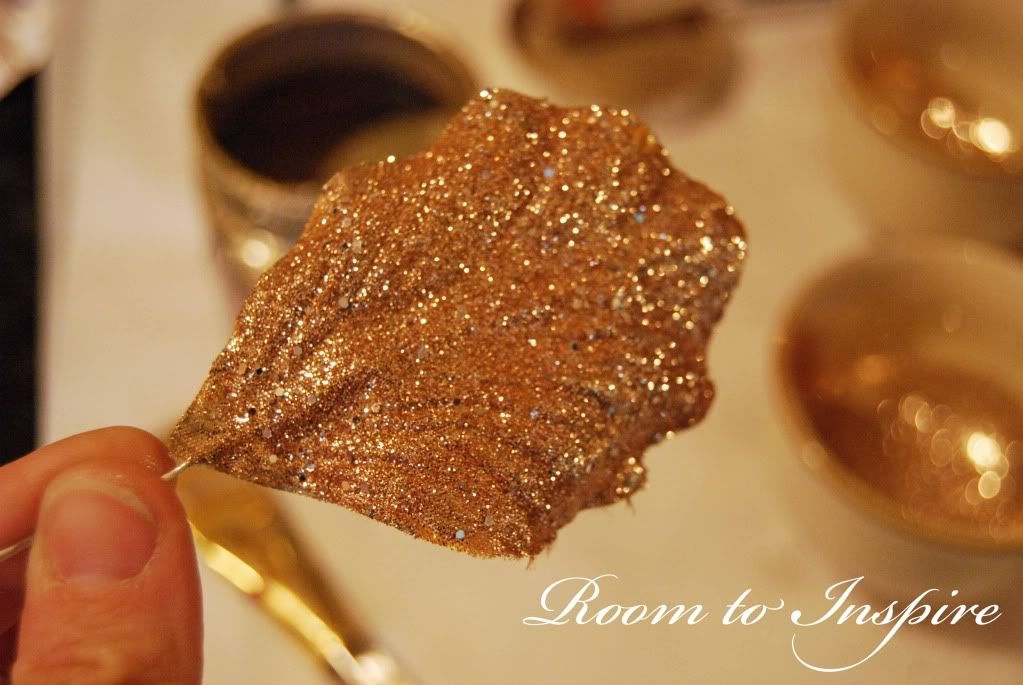
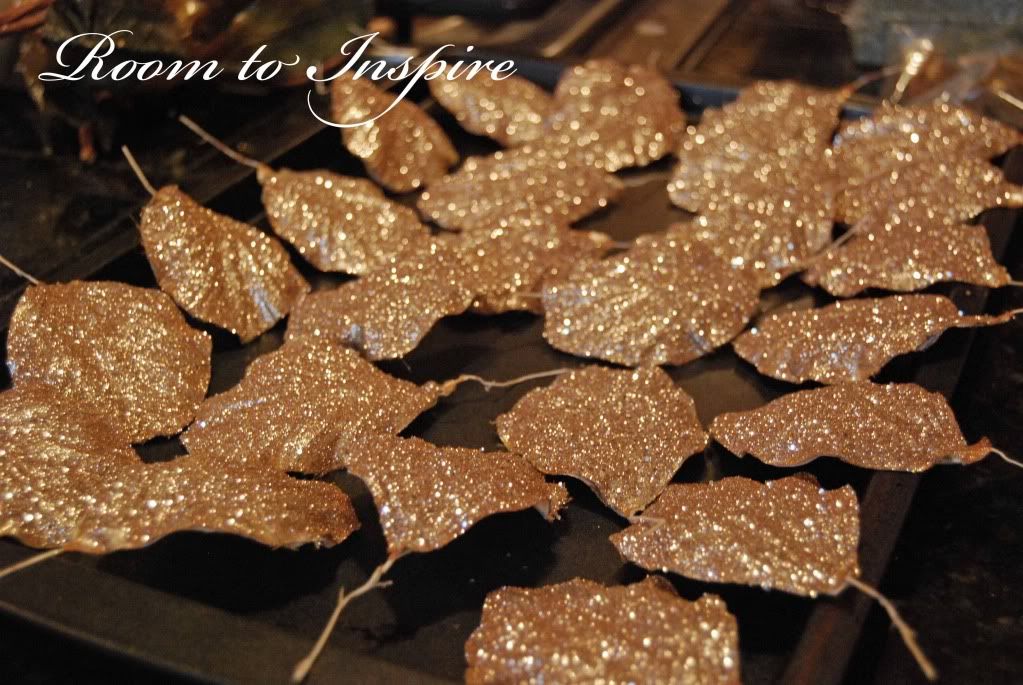
And laid them out to dry overnight.
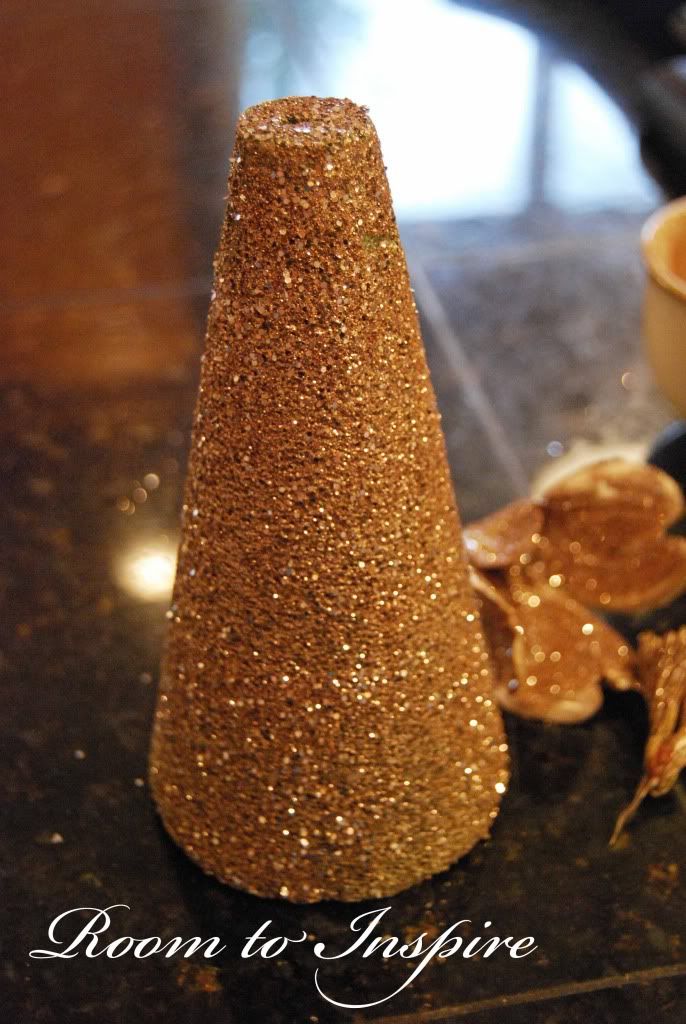
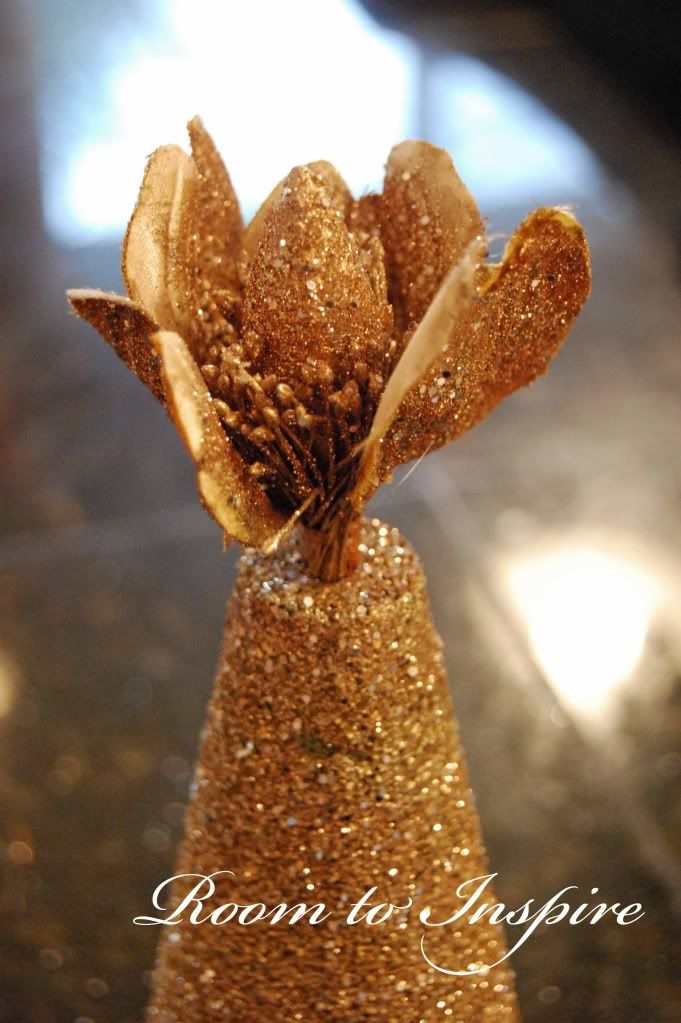
I did the same to the styrofoam cone and to the center section from one of my faux flowers -
Once the petals were dry, I realized they needed a little glitter on the back side as well. So a little more paint and a little more glitter - I seriously think glitter is embedded in my eyebrows!
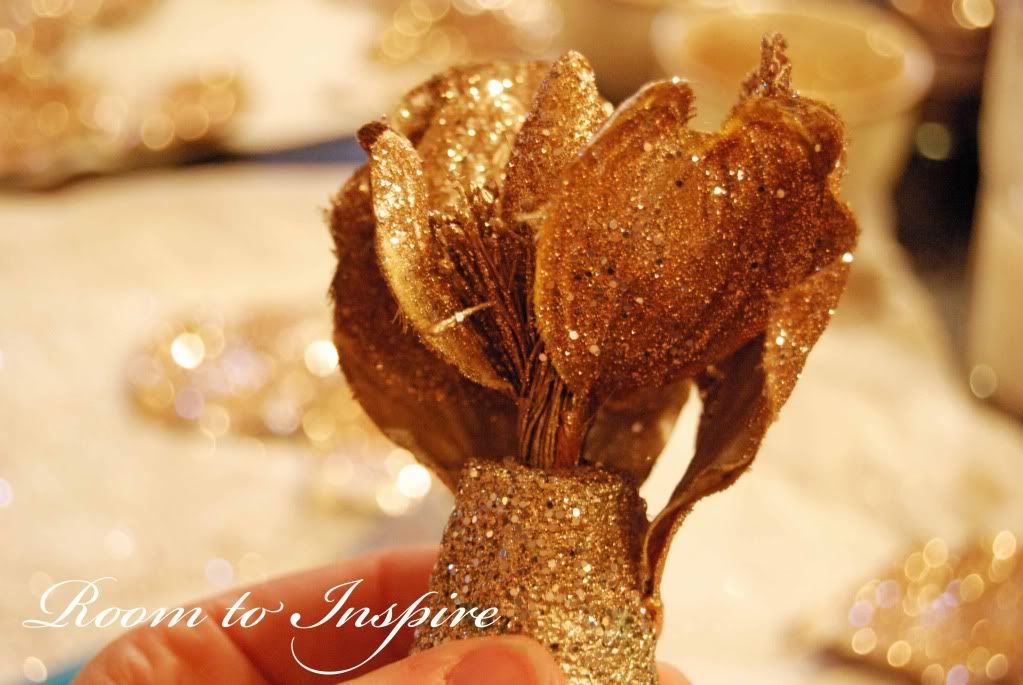
Now it was time to assemble the ornament. I started at the top of the foam and inserted the center section from one of the roses.
I then started added each petal by inserting the wire into the foam and hot gluing the petal in place.
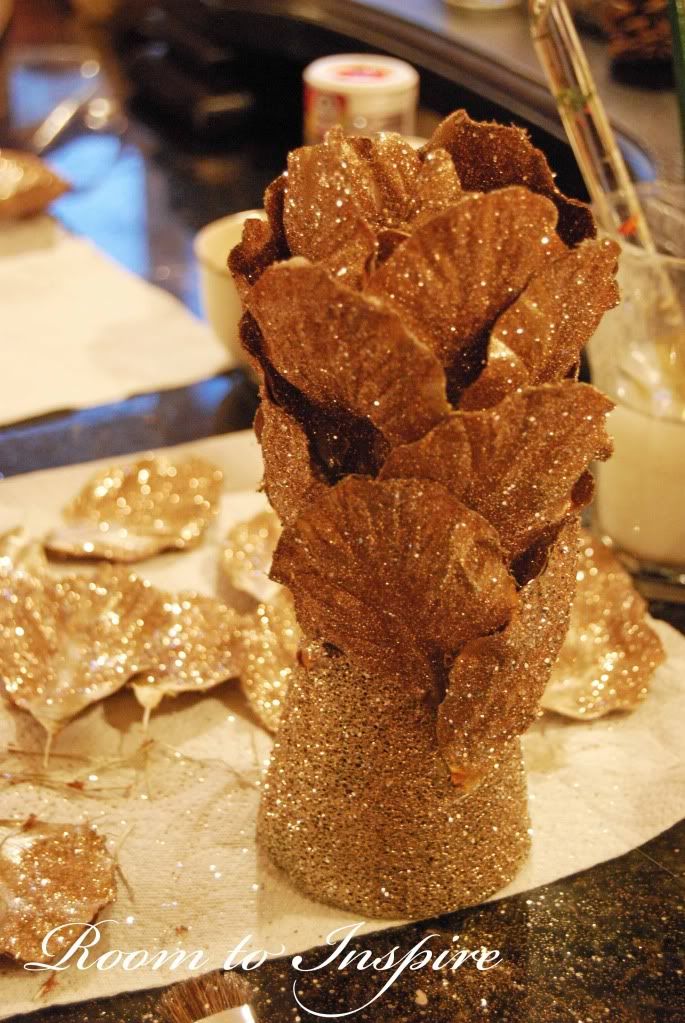
I simply added rows and made sure the petals were overlapping one another.
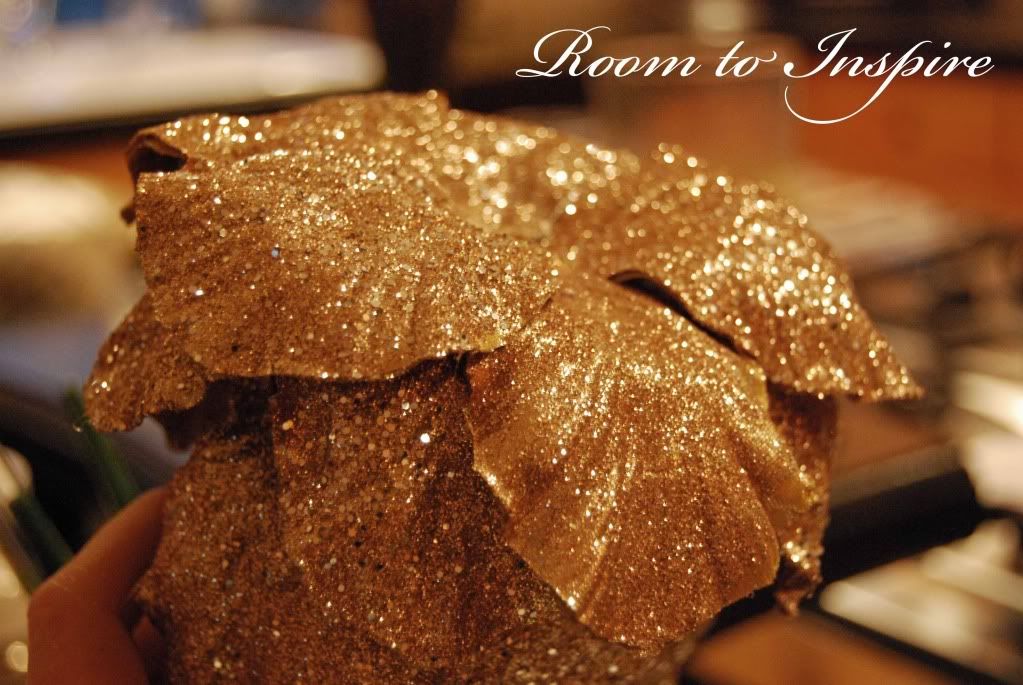
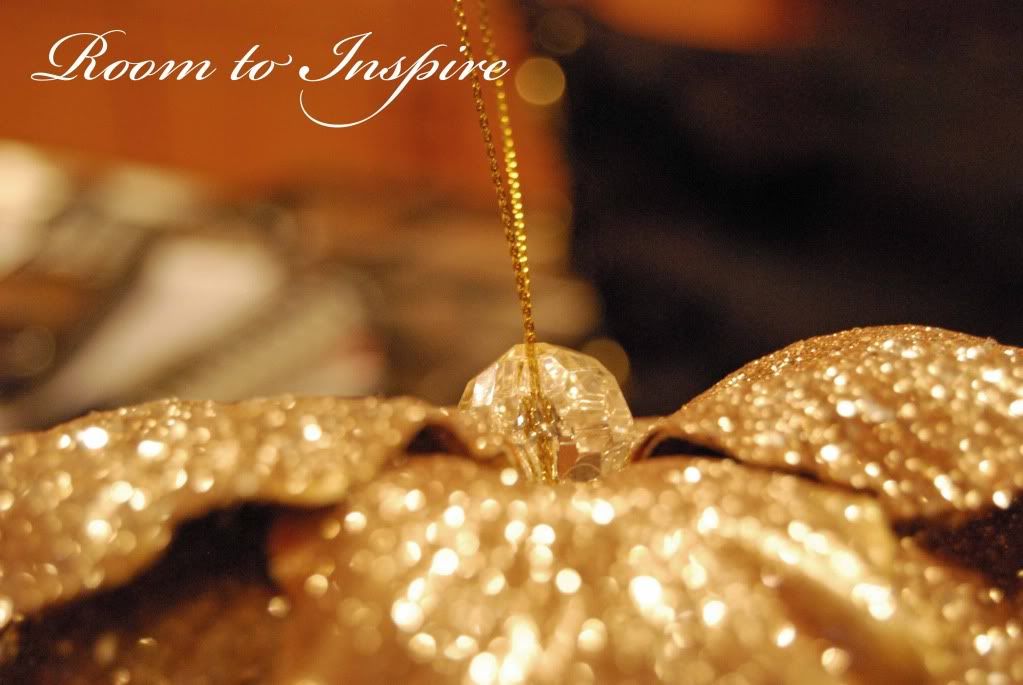
Once at the top of the ornament I hot glued on a hanger I made with a bead and a piece of tinsel cord.

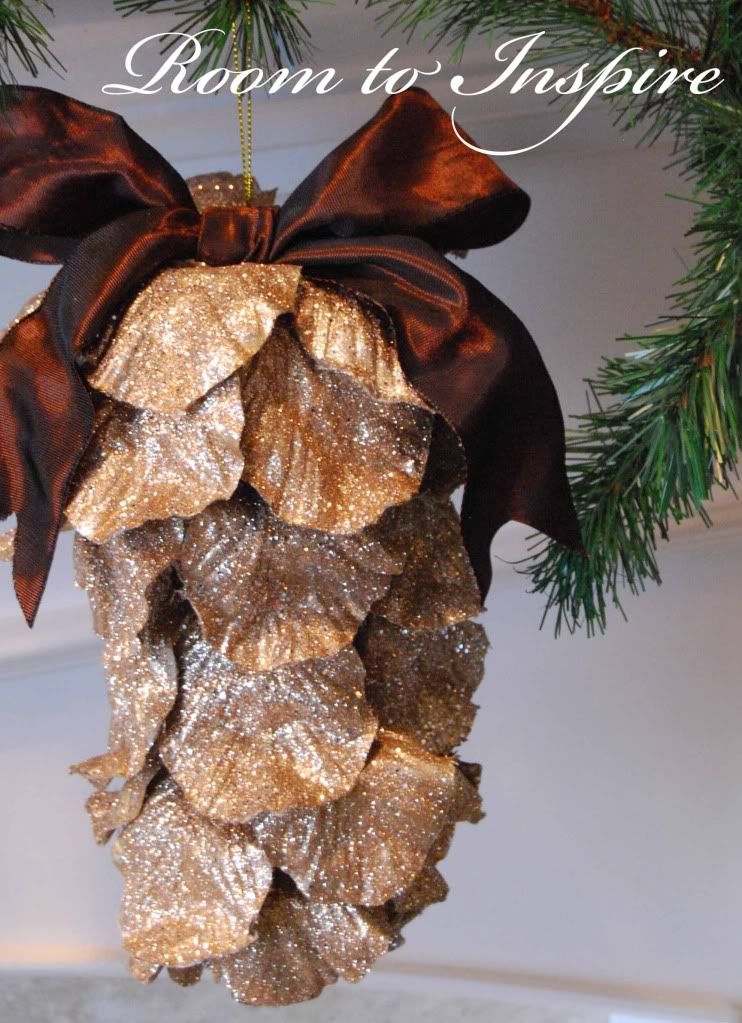
Here it is completely glittered, petaled and hanging.
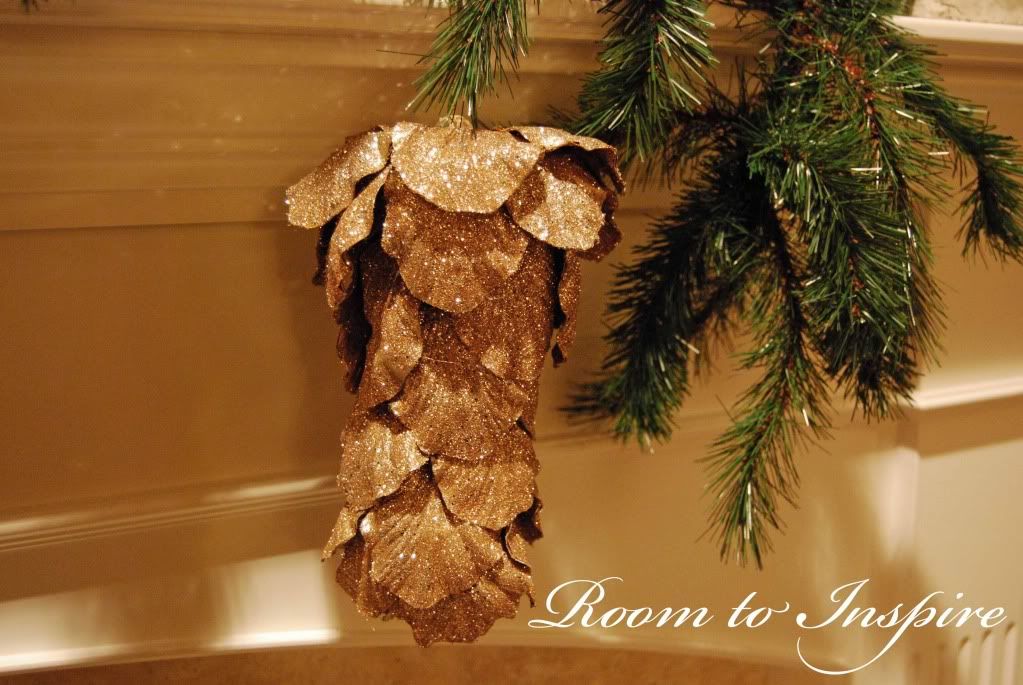
But now it was time for some fluffing - this is where the wired petals come in handy. I simply started bending and shaping each petal to give it an organic look...kind of pine cone-esque!
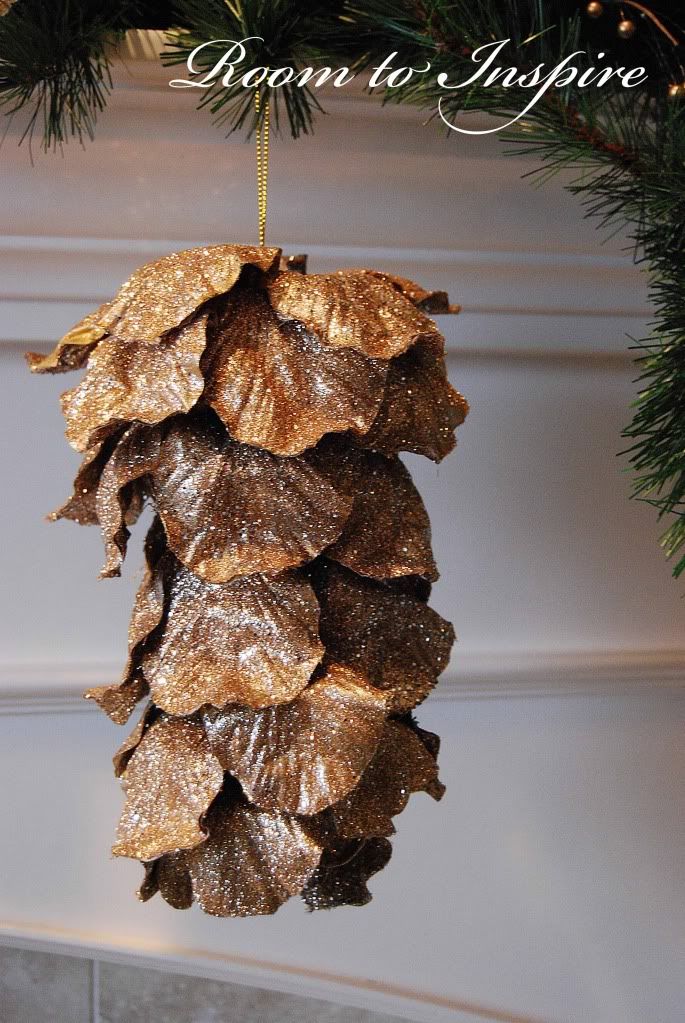
I then added a little bow to top it off! I love how it turned out - I really love the combination of the organic shape, the glittery layers and the elegant ribbon (and I totally heart that it only cost me $2.99 since everything else I had on-hand).
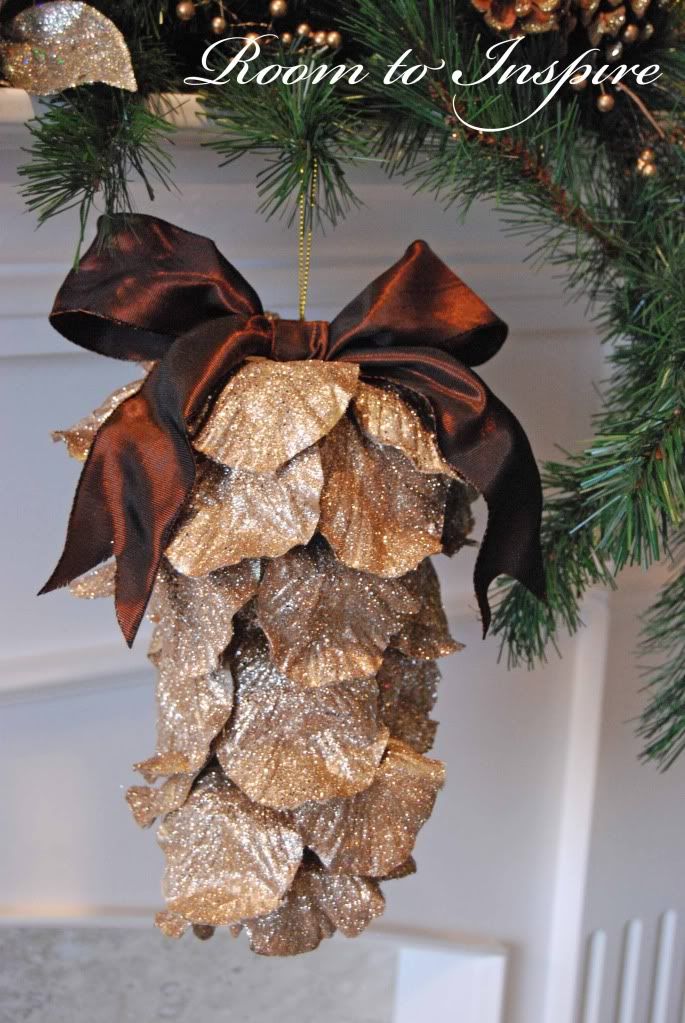
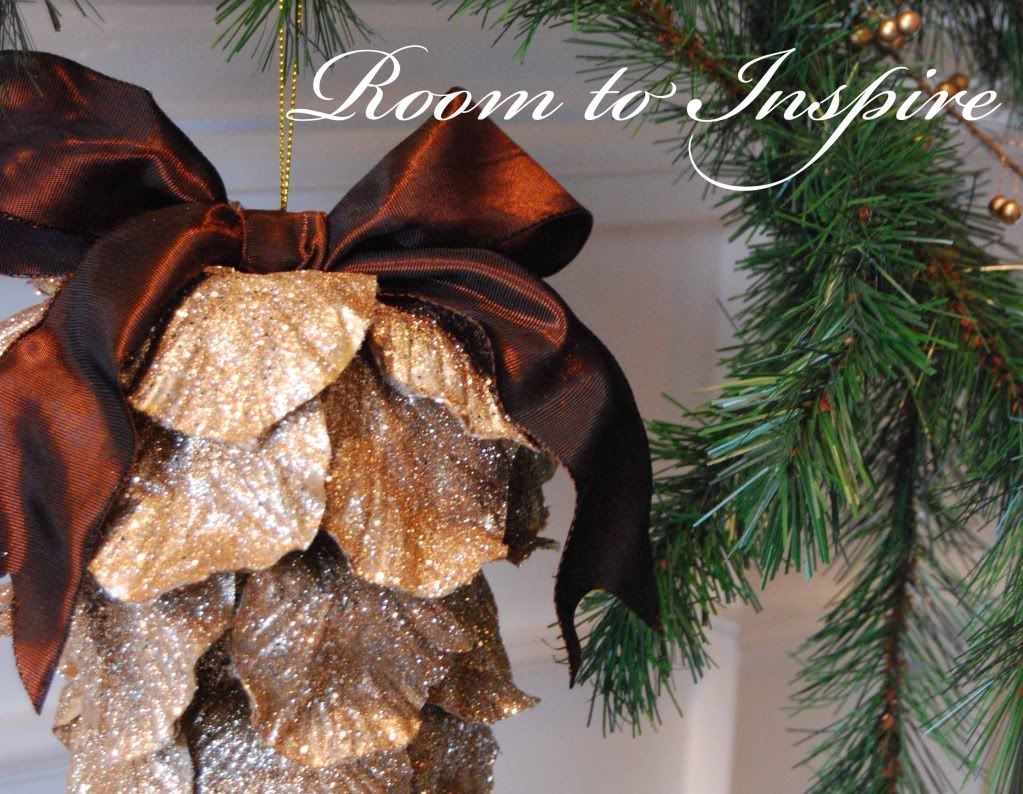
(My Christmas tree was not up yet, so please excuse my half garland for presentation purposes!)