Showing posts with label DIY project. Show all posts

Thursday, April 28, 2011

Dressing Up a Glass Candle ~

This is a re-post, but I was thinking about teacher gifts and I thought something like this would be fun. I am all about the gift that can be used. And this would be a fun, inexpensive gift they could enjoy - and hey, the kiddos could help too (okay, probably not the hot glue part)!

I picked up this candle for $4.00 on sale the other day - I liked the fragrance, but the candle itself...blah.
 

So I decided to glam it up a bit. I peeled off the sticker - some might find this tedious, but for some reason I find it a tad bit therapeutic.


Here is it all ready to be dressed up.

I grabbed a bit of burlap and this crown that was once a napkin ring (thanks Mom). 
 

I hot glued the burlap on.

Hot glued the crown on and tada...

A $4.00 candle all dressed up!


Wednesday, March 16, 2011

My Side Table "Got Knobbed" ~

DIY Project | Inspiration

We have had this side table forever and it is boring, blah, dull...but it currently serves as the kiddos art supply cabinet. So for now it stays.

So to give it a little "pick me up" I pulled out my collection of knobs. 
Let me introduce you...

So armed with my screw driver (this is my attempt to make this seem a bit more substantial than it really is) I turned this boring, blah, dull piece into this:

I know, hold you back right? Ha. 
So made my boring, blah, dull side table a little less boring, blah and dull. 

But it does makes me smile when I open it now. 
Which really means, job well done!

So, let's recap. Before.

After.


If you have a moment, please head over to Circle of Moms and vote for me!
You an vote once a day, thank you much!


Monday, February 7, 2011

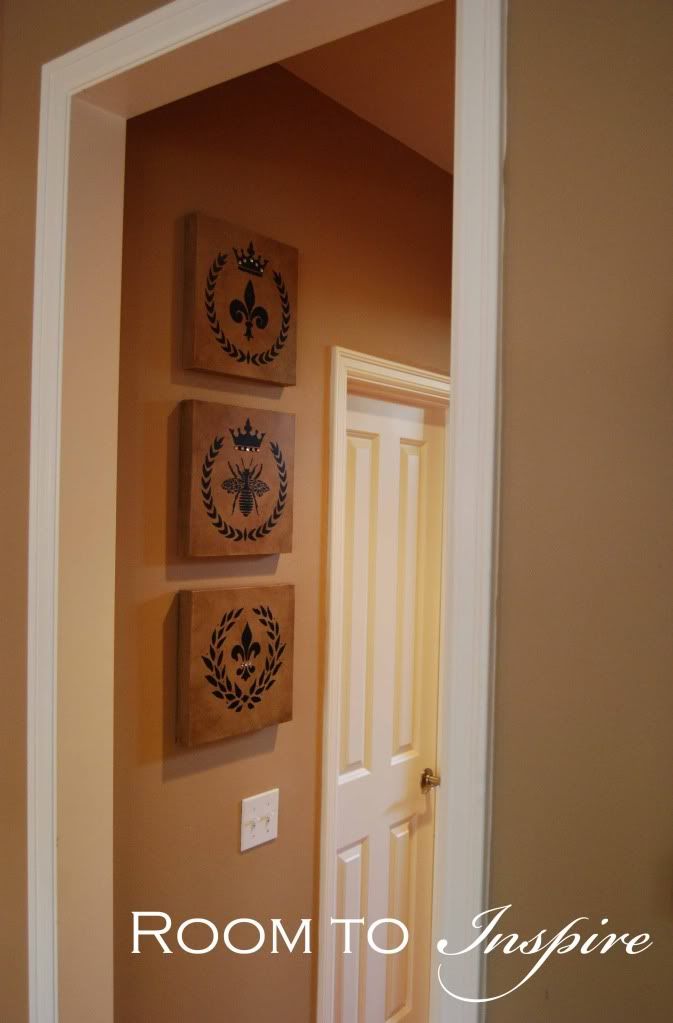
Canvas Wall Art ~

DIY | Project Inspiration


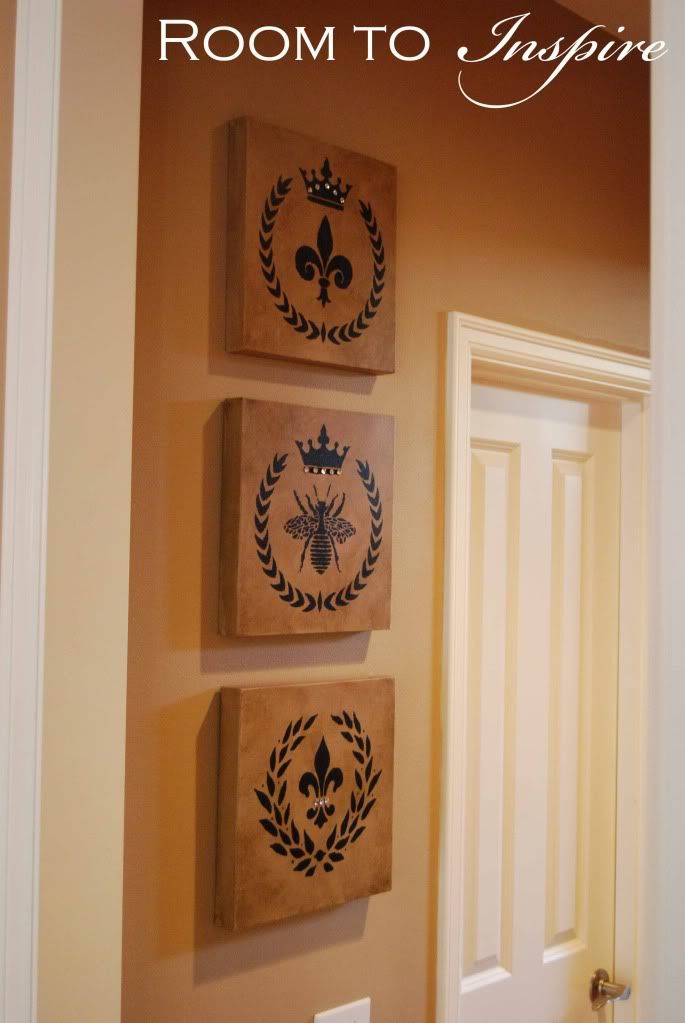
Here is a super easy wall art project. 
Here is all you need:
  • Canvas
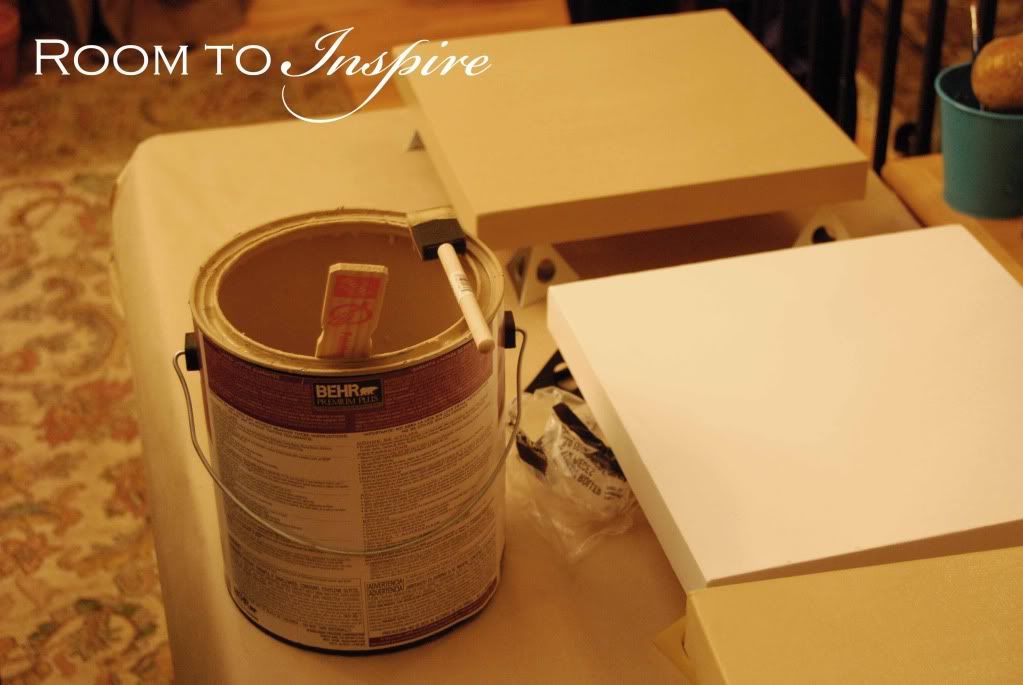
  • Interior Paint (I used Behr)
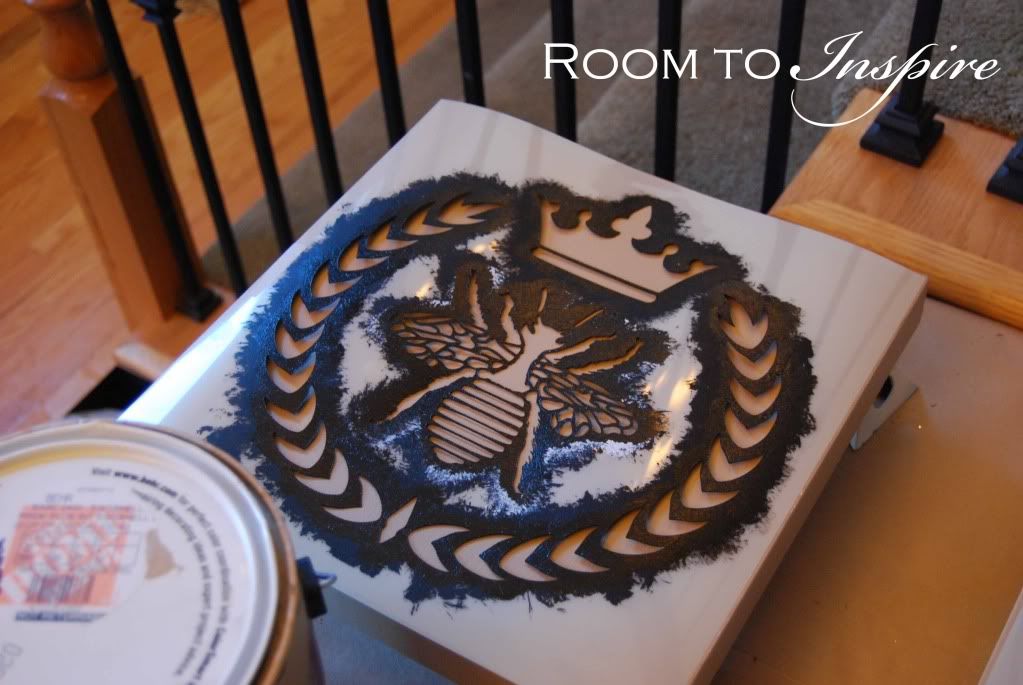
  • Stencils
  • Stain (I used Minwax)
  • Rhinestones

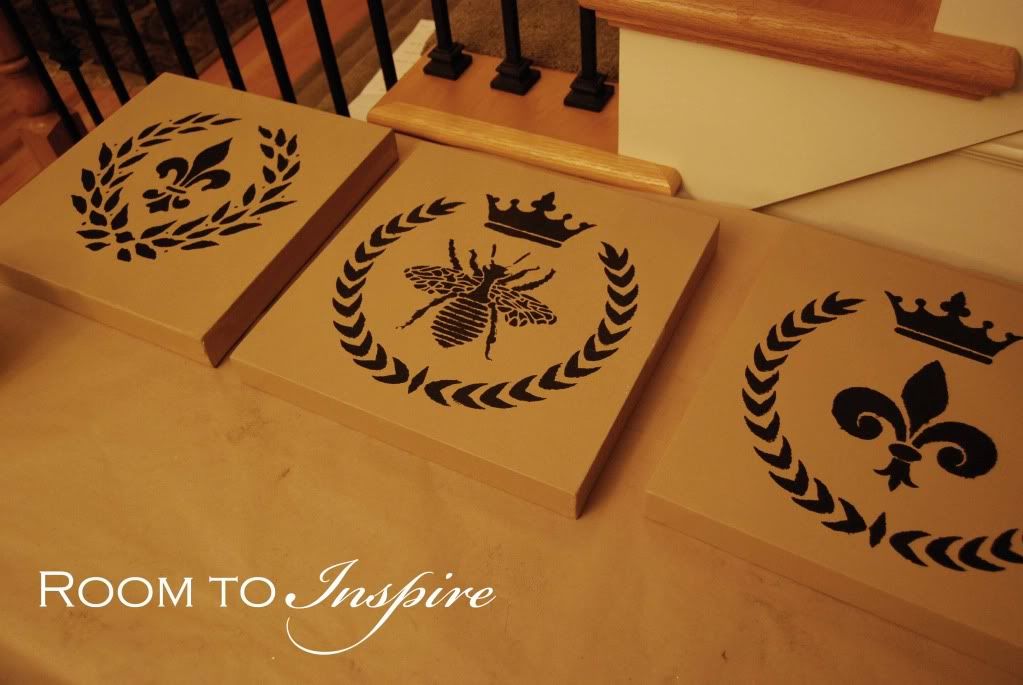
I started by painting the canvas with some paint I had on hand.

I then painted on the stencils that I got from this great Etsy site - Artistic Stencils.


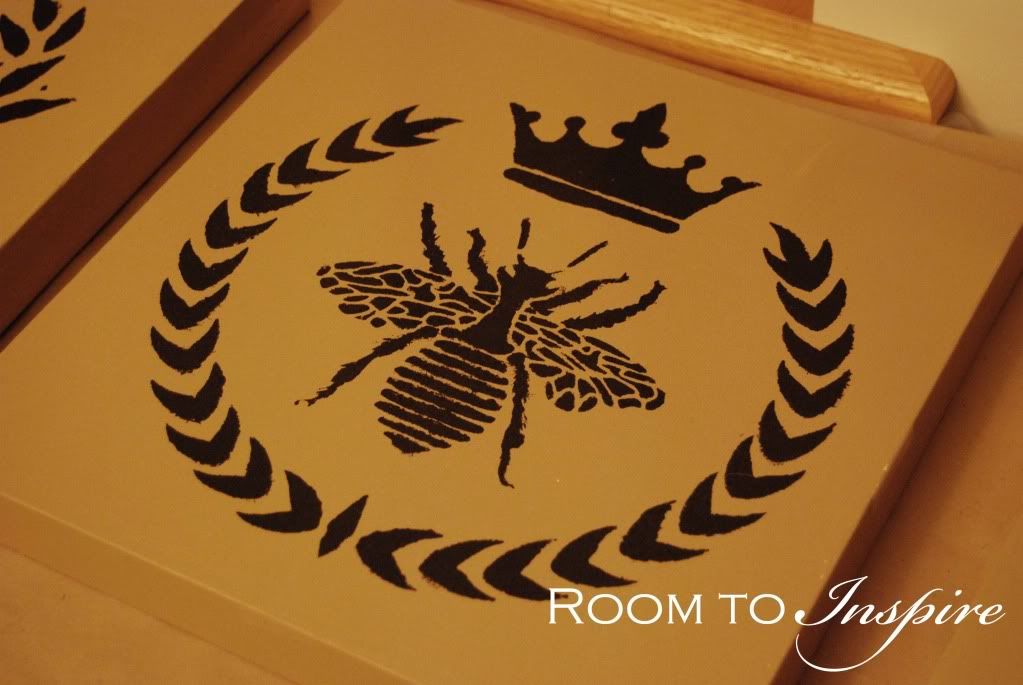
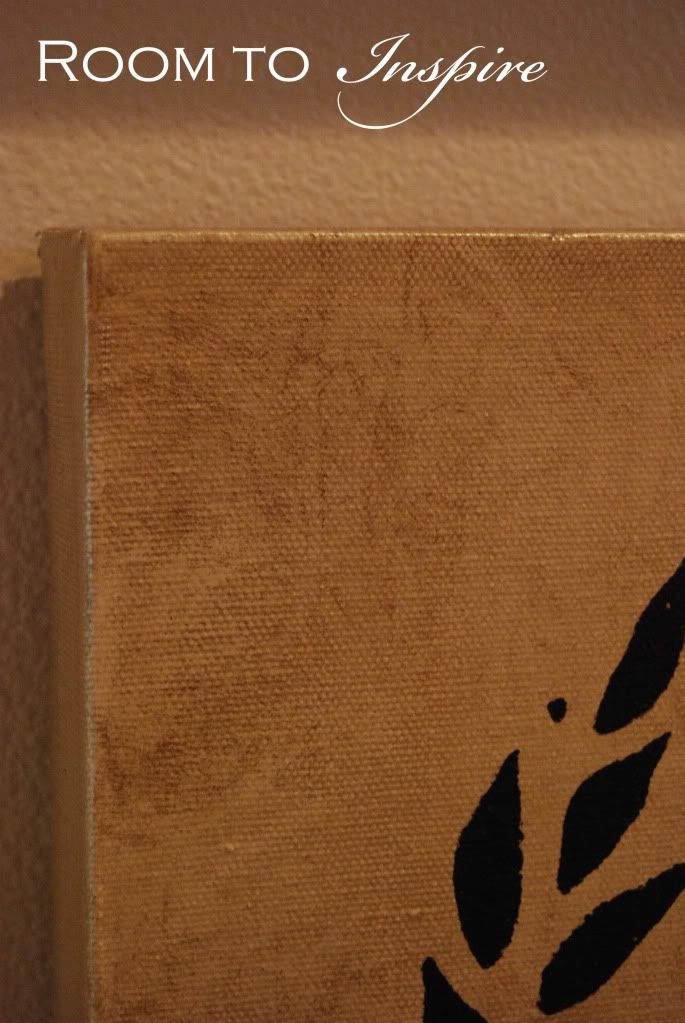
I then applied a few layers of stain to "age" the canvas a little. 

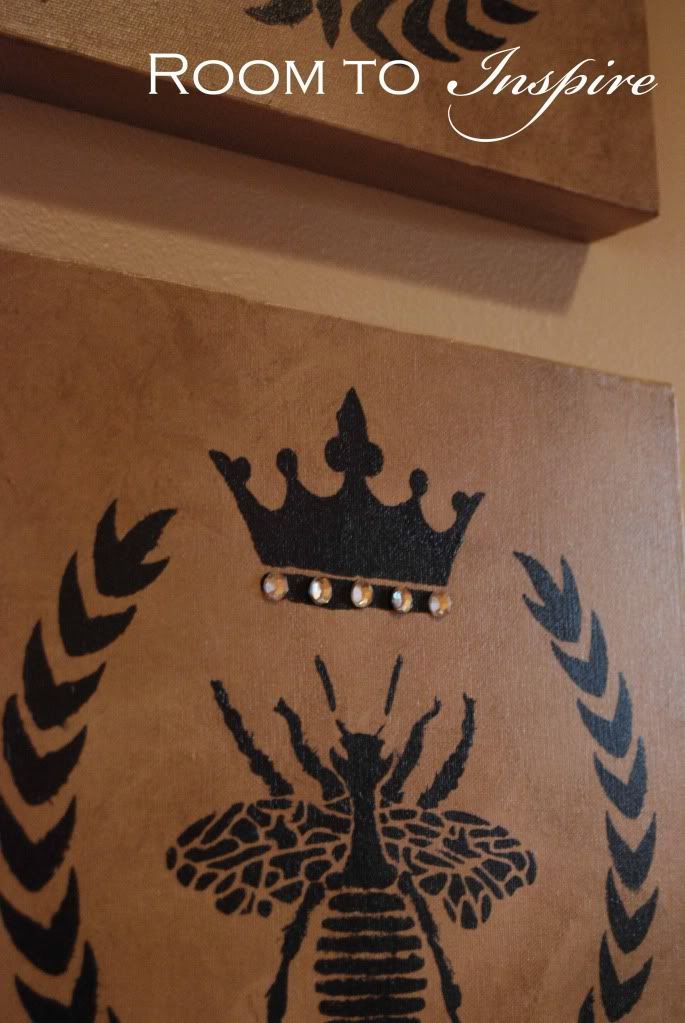
A few rhinestones...


And viola, you have yourself some great wall art. 

Linked to:
The Sunday Showcase at Under the Table and Dreaming
Weekend Wrap Up at Tatertots and Jello
Saturday Nite Special at Funky Junk Interiors

Monday, January 24, 2011

A Simple Frame Project ~

DIY | Project Inspiration

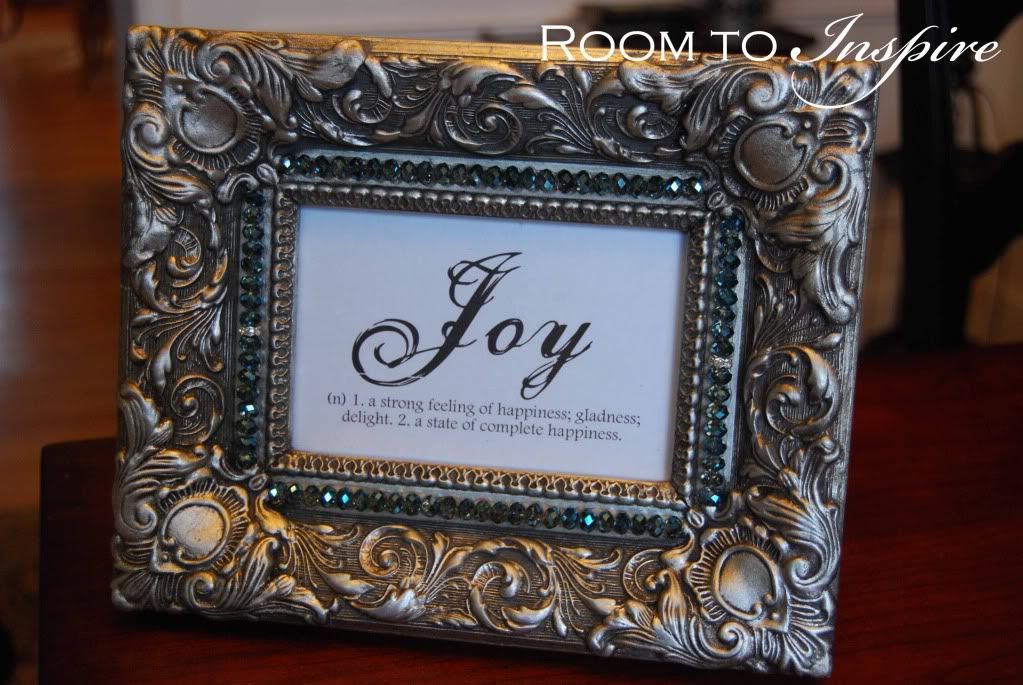
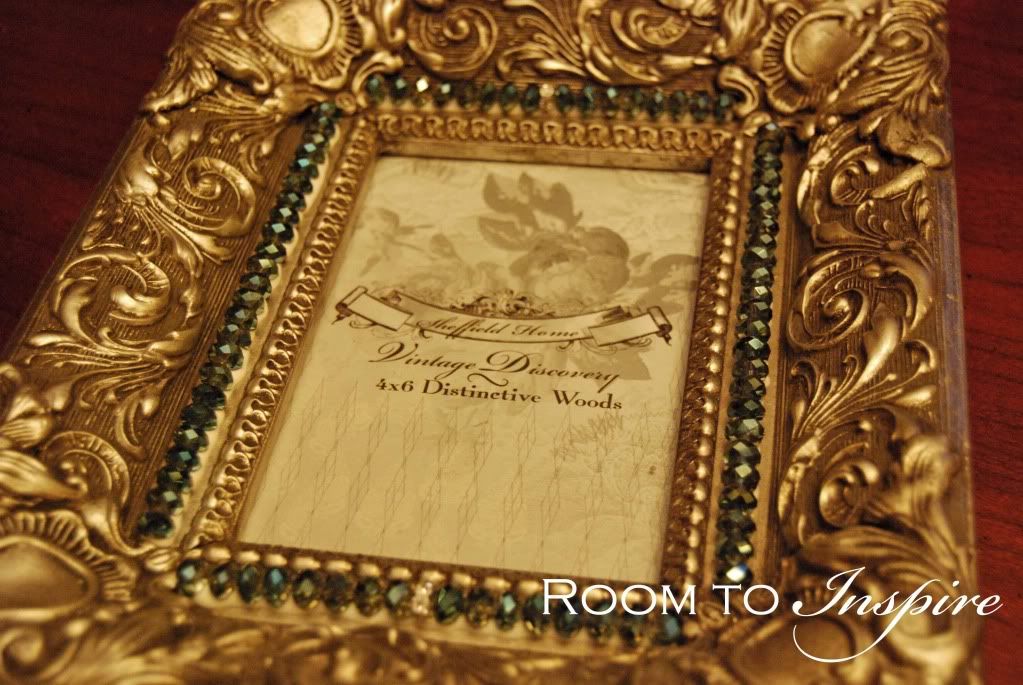
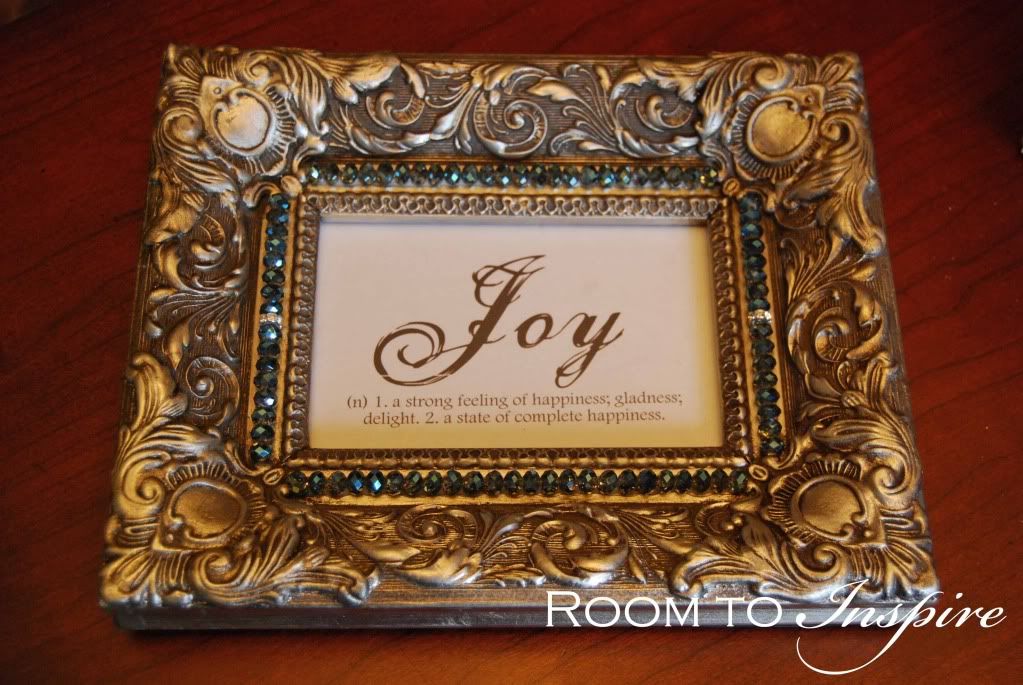
My Mom recently embellished this frame for her dear friend who loves this aqua blue color.

This is a super easy project that you can personalize with any color your heart desires.
Supplies:
Frame
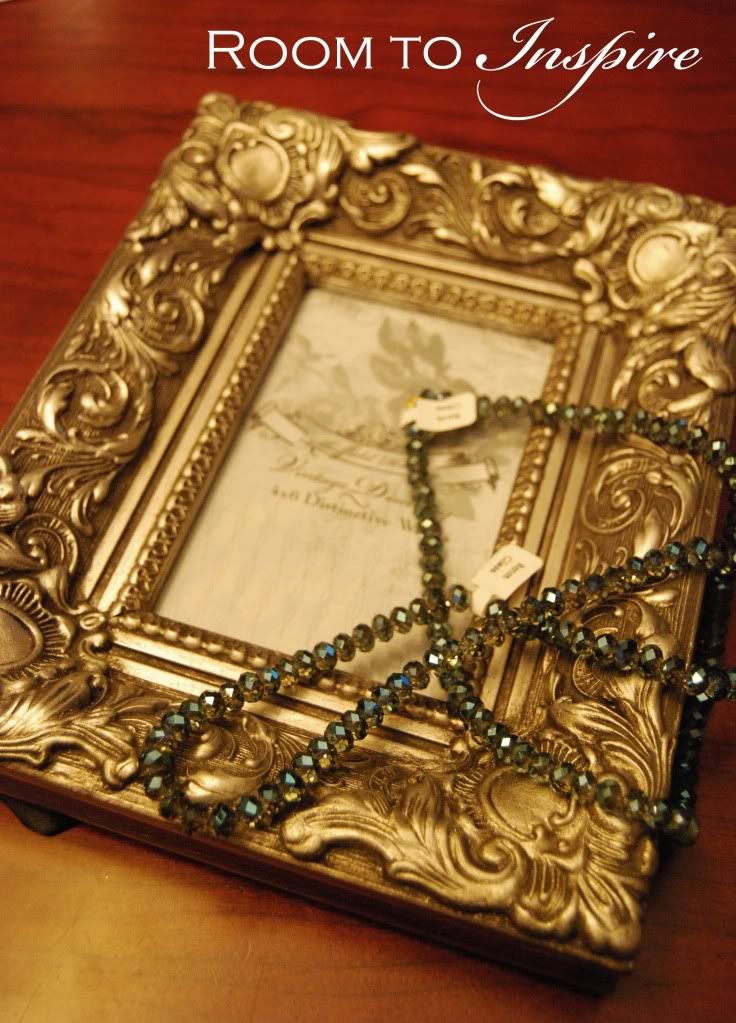
Beads from the craft store (Michaels)
Glue


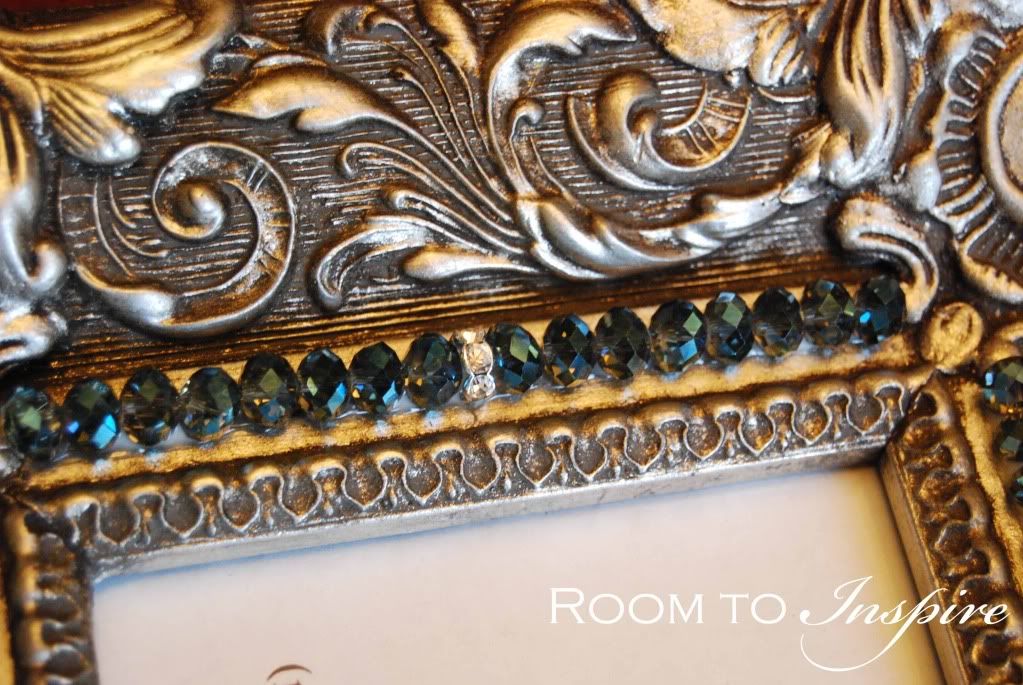
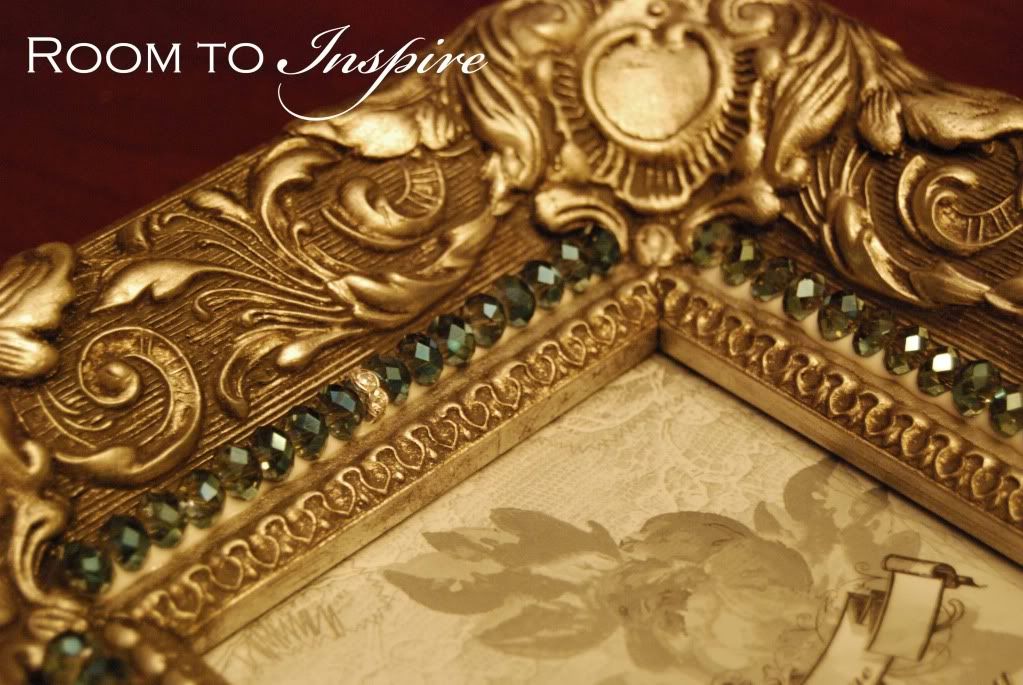
Simply take apart the string of beads, run a stripe of glue on all sides and set in your beads.


A great personalized gift or a frame to update your own bookcase.

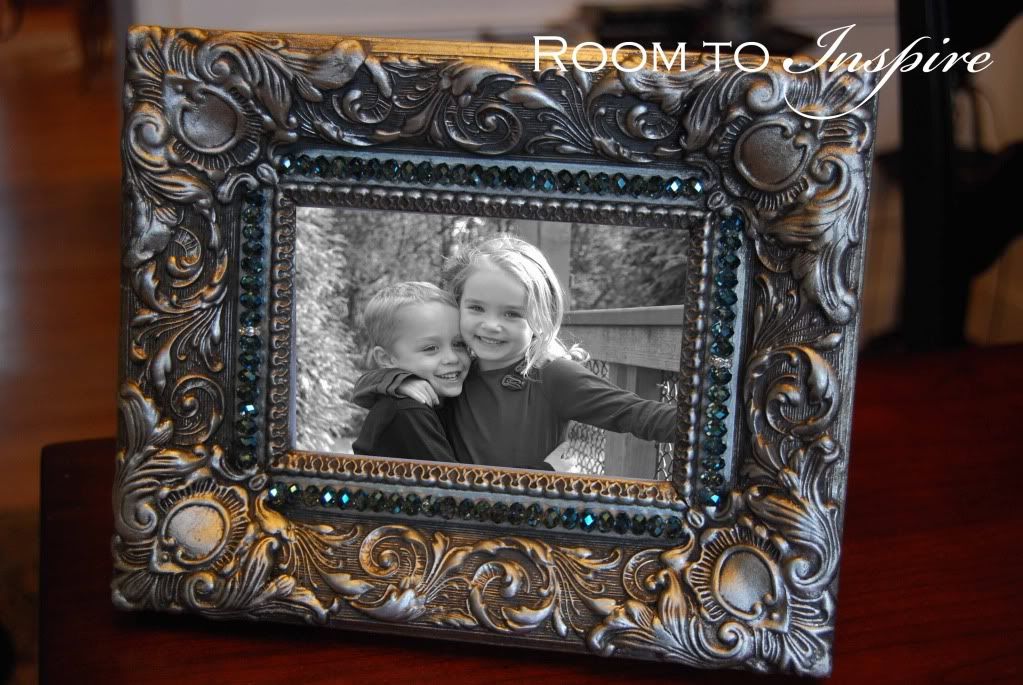
This would be a great Valentine gift! Just insert a black and white photo. 

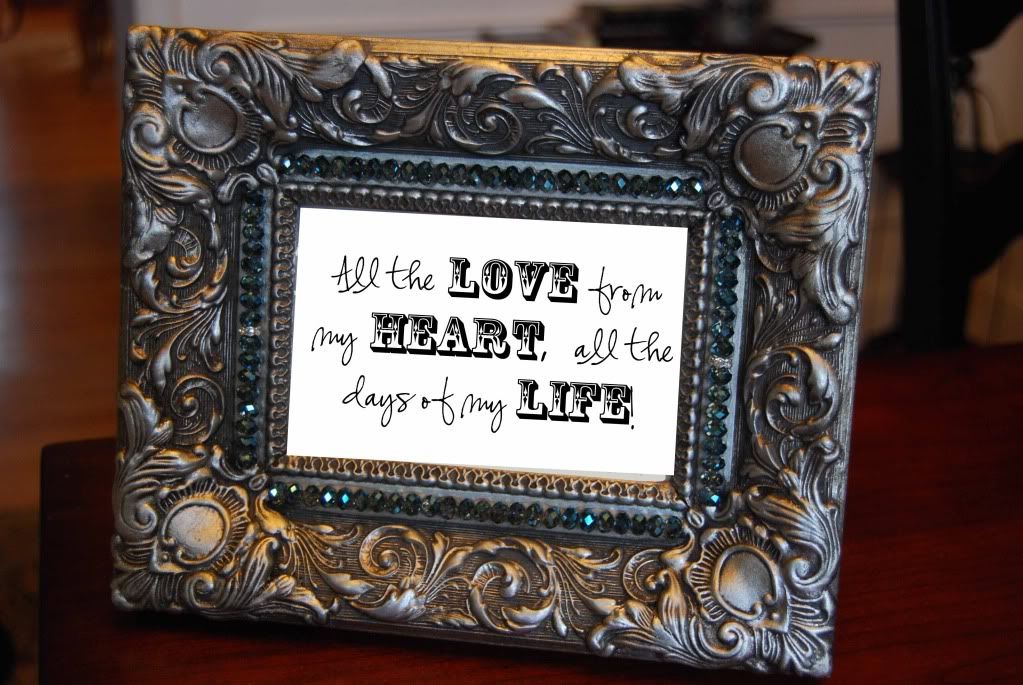
 Or maybe a few sweet words...


Tuesday, December 28, 2010

Valentine Frame {With Silhouette} ~

DIY | Valentine Project Inspiration


I know it might seem a bit early, but out with the old in with the new...right? Okay okay, it is WAY too early for Valentine's Day, but here we go!

Here are the materials I used:

  • Sheet Music
  • $1 Frame
  • Small Frame
  • Foam Glittered Heart
  • Burlap
  • Letters cut out with my new Silhouette

With sheet music
With burlap frame

With foam heart (I did substitute a larger foam heart that I simply cut it in half)

With a little Valentine text - 
I used my new Silhouette to cut out the letters - 
it was sooo easy! Way easier than cutting out the letters by hand.


If you haven't entered the Silhouette giveaway, be sure to head over right away!

Tuesday, December 21, 2010

Star Ornament ~

DIY | Holiday Project Inspiration

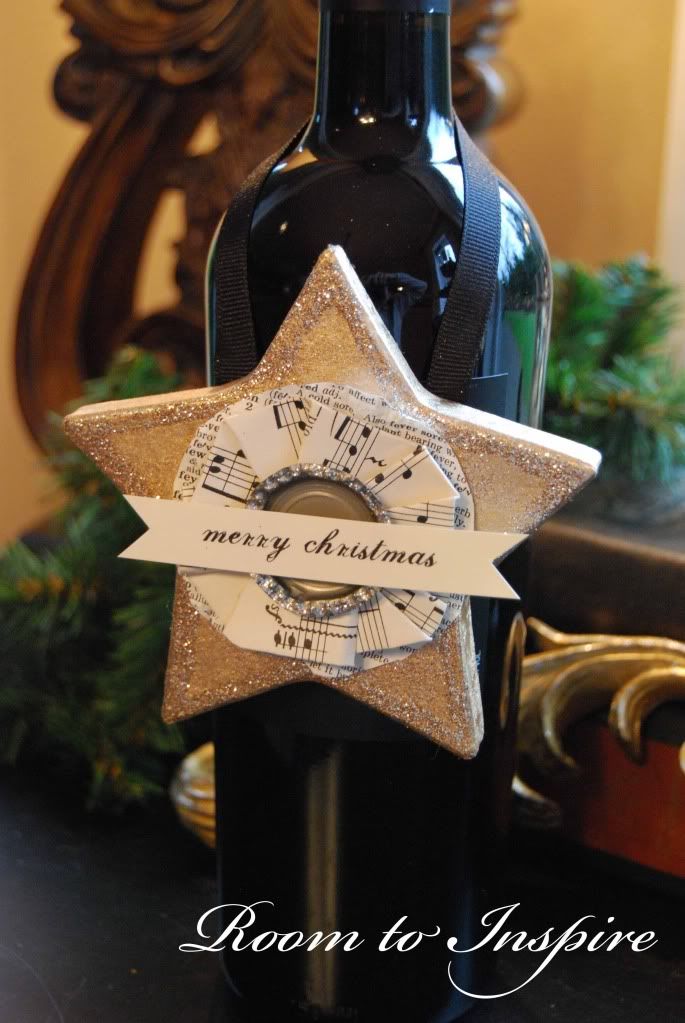
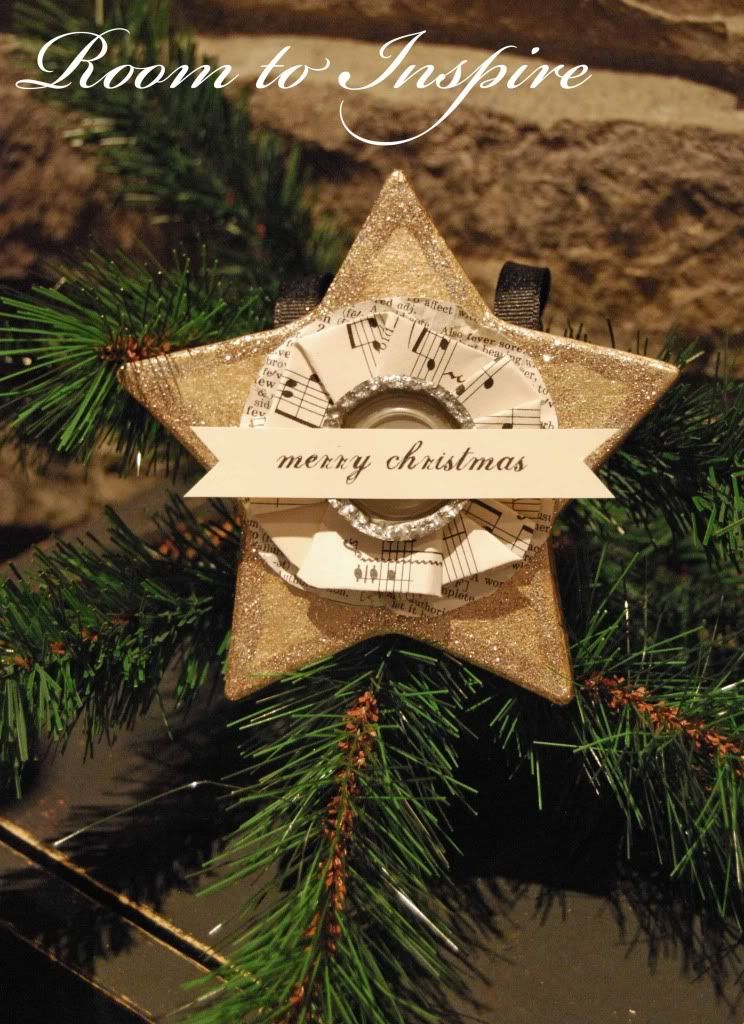
Are you looking for that last minute hostess gift, or how to dress up a wine bottle? Here is fun ornament you could use on your tree or to dress up a gift. 


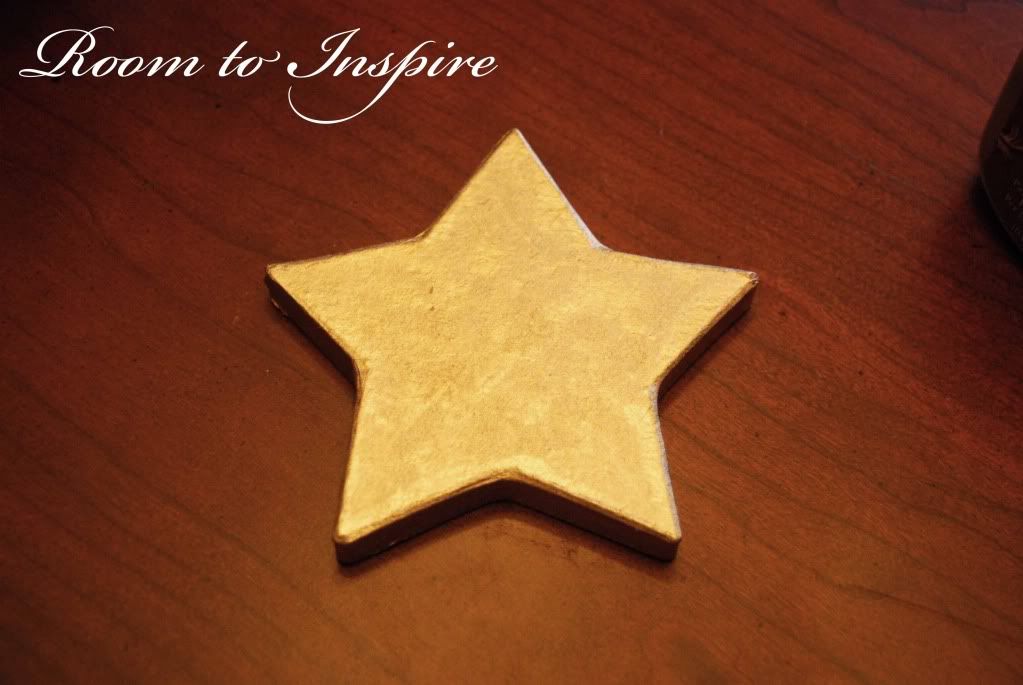
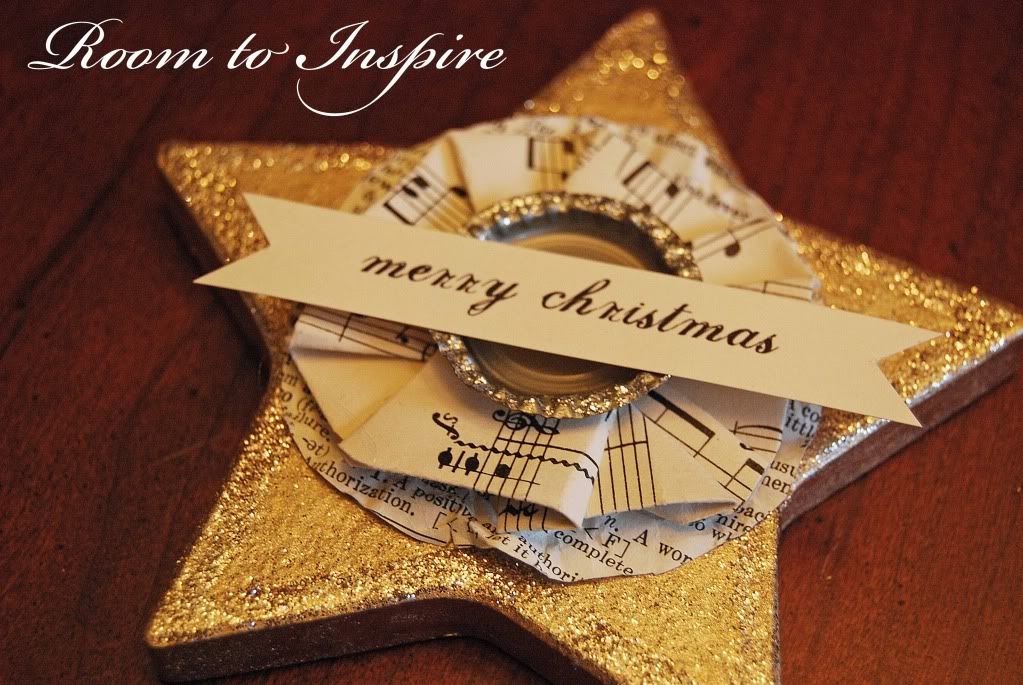
I started by spray painting a paper mache star gold.

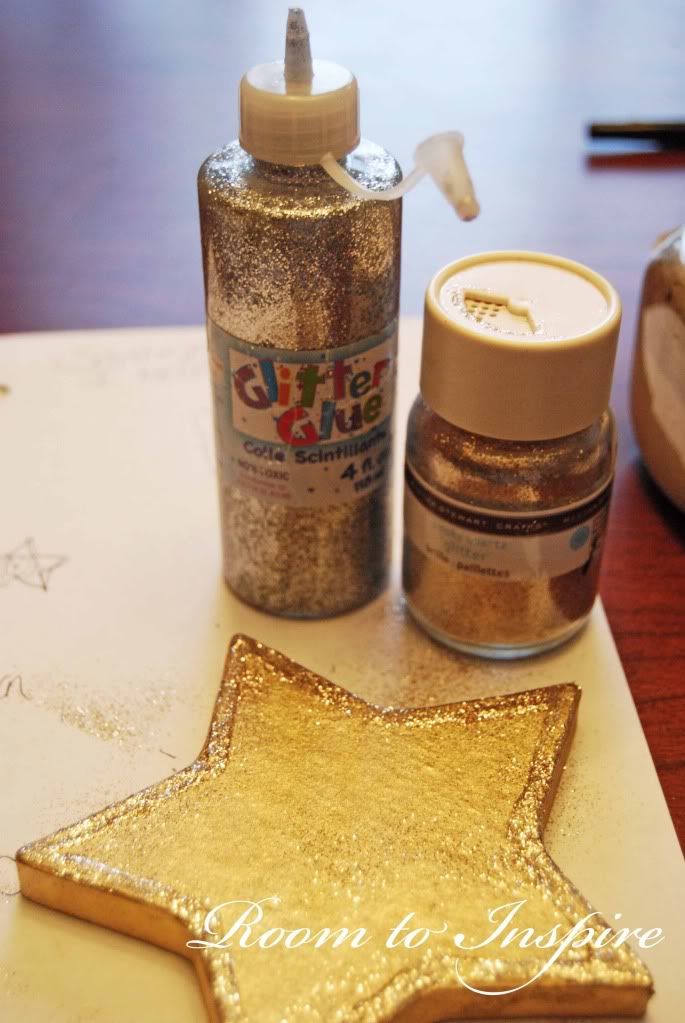
I then glittered the outside edge of the star.

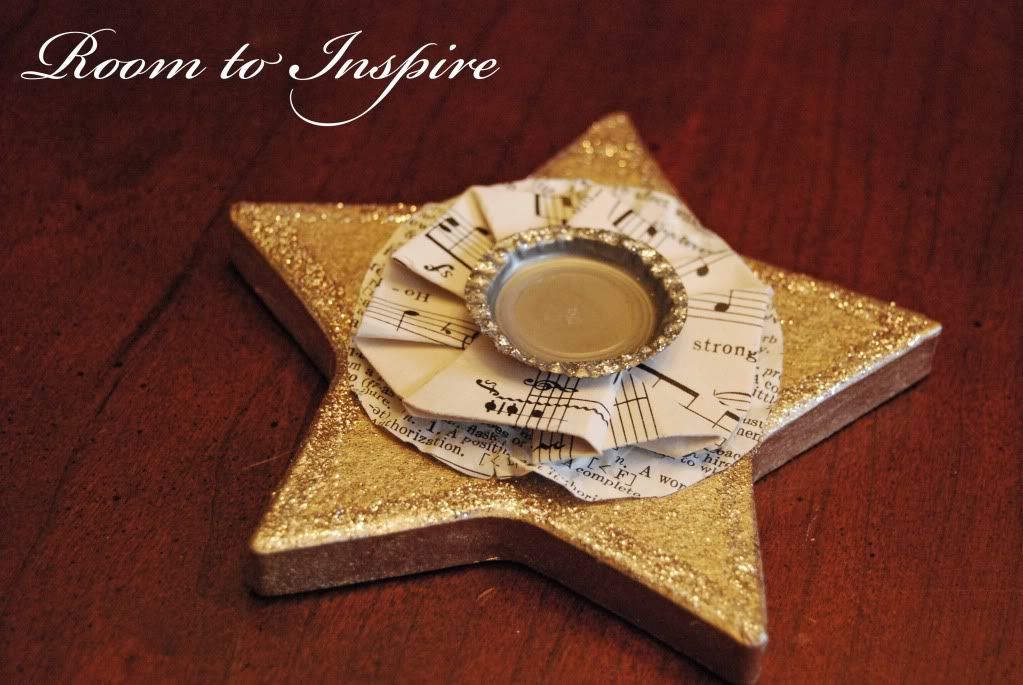
Once dry, I added a paper embellishment made from sheet music, a dictionary page and a bottle cap (yes, I had to sacrifice drinking a beer to make this project)!

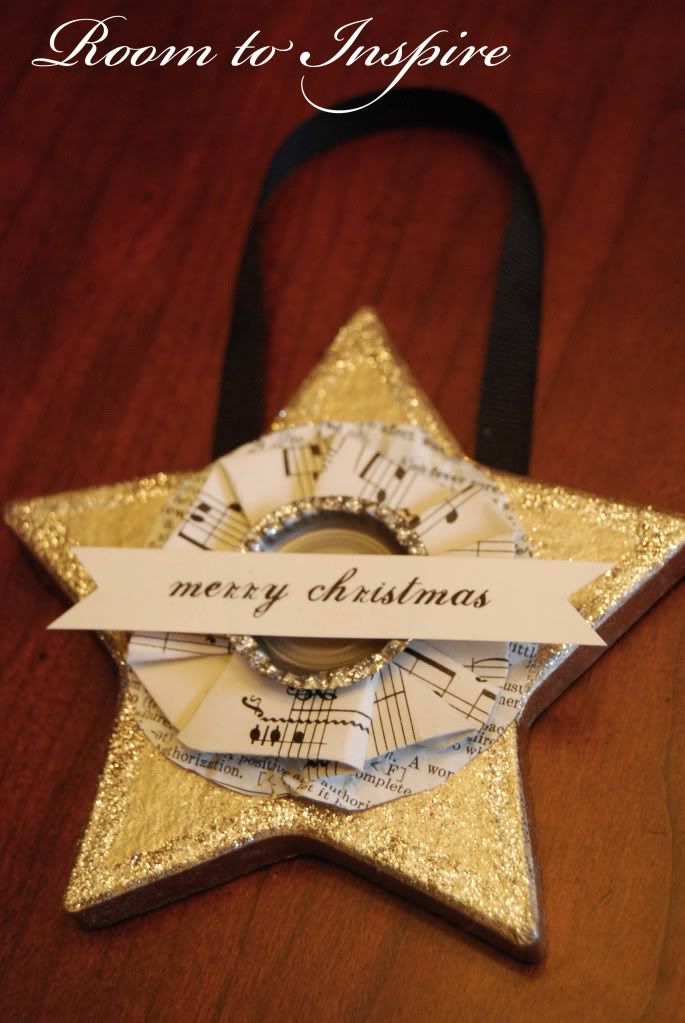
I then printed and cut out "merry christmas" and attached it with a little hot glue.

To finish it off, I added a simple black ribbon. 

It looks great over a wine bottle -

On your tree -

Or simply added to your holiday decor -

LinkWithin

Related Posts with Thumbnails