Tuesday, August 3, 2010

Anniversary Giveaway 1 ~

As I mentioned last week, I recently realized I missed my blog-iversary (it was June)!

I can't believe it has been a year...oh how time flies! I have had so much fun with this blog, truly a wonderful time. I want to thank my friends and readers for all of the wonderful inspiration, motivation and for simply making this so much fun!  So how does one celebrate such a momentous occasion....giveaways of course! 

My first giveaway for the week was generously provided by the lovely ladies at Heartland Interiors.

As you all know, this is one of my favorite stores! Aside from having the most wonderful furniture and decor, they also have super fun jewelry! Here is one of their newest arrivals - 


And it happens to come with a pair of earrings as well -

**This Giveaway Has Ended**

So if you would like to be the winner of this fabulous set all you have to do is:
* Leave a comment on this post
* Become a follower of this blog
* Blog or Facebook about the giveaway
Be sure to leave a separate comment for each entry!

Winner will be announced Tuesday August 9th!
Good Luck!


Be sure to stop by tomorrow for another giveaway!



Monday, August 2, 2010

House Tour Monday ~

House tour Monday compliments of here...enjoy!


Friday, July 30, 2010

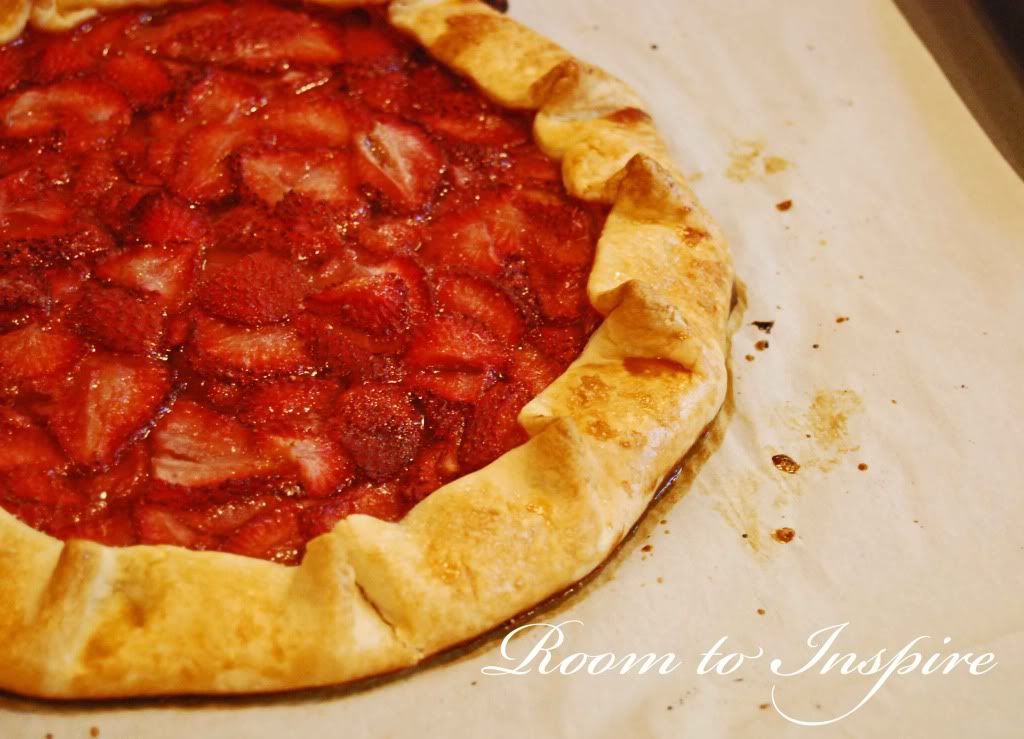
Strawberry Galette ~

I recently made this yummy Summer dessert for the first time - it was one of those recipes I kept meaning to make but never did. It is from Martha Stewart Living May 2008 (I know, it took over 2 years to make it!)

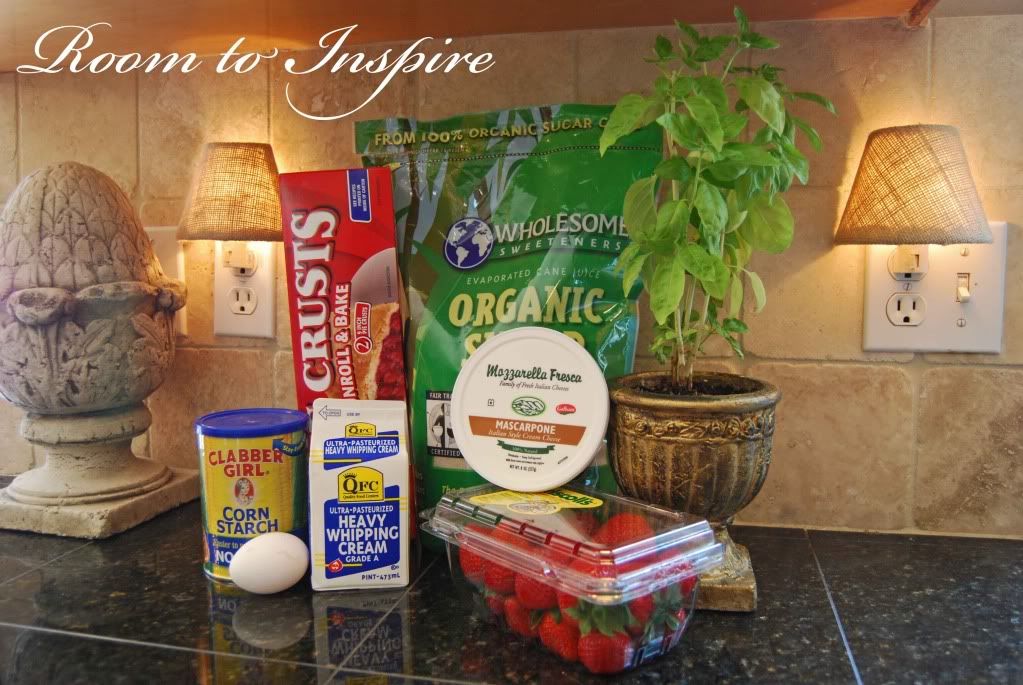
 Here are the ingredients (Martha's recipe requires making the crust, I went the loser way out and used a refrigerated pie crust):

FOR THE BASIL CREAM (This was not a huge hit)
3/4 cup heavy cream
1/3 cup loosely packed fresh basil, chopped
2 tablespoons sugar
3/4 cup mascarpone cheese

FOR THE DOUGH
I used a ready to go pie crust
FOR THE GALETTE 1 pound strawberries, hulled
1/4 cup plus 1 tablespoon sugar
2 teaspoons cornstarch
1 large egg yolk
1 tablespoon water
1 tablespoon cold unsalted butter, cut into small pieces

Make the basil cream: Combine cream, basil, and sugar in a heatproof bowl. Set bowl over a small saucepan of simmering water, and stir until sugar dissolves, about 4 minutes. Cover with plastic wrap, and refrigerate for at least 1 hour (or up to 2 hours for a more pronounced basil flavor). Strain through a fine sieve into a bowl. Add mascarpone, and whisk until medium peaks form. Cover, and refrigerate until ready to serve, up to 2 hours.

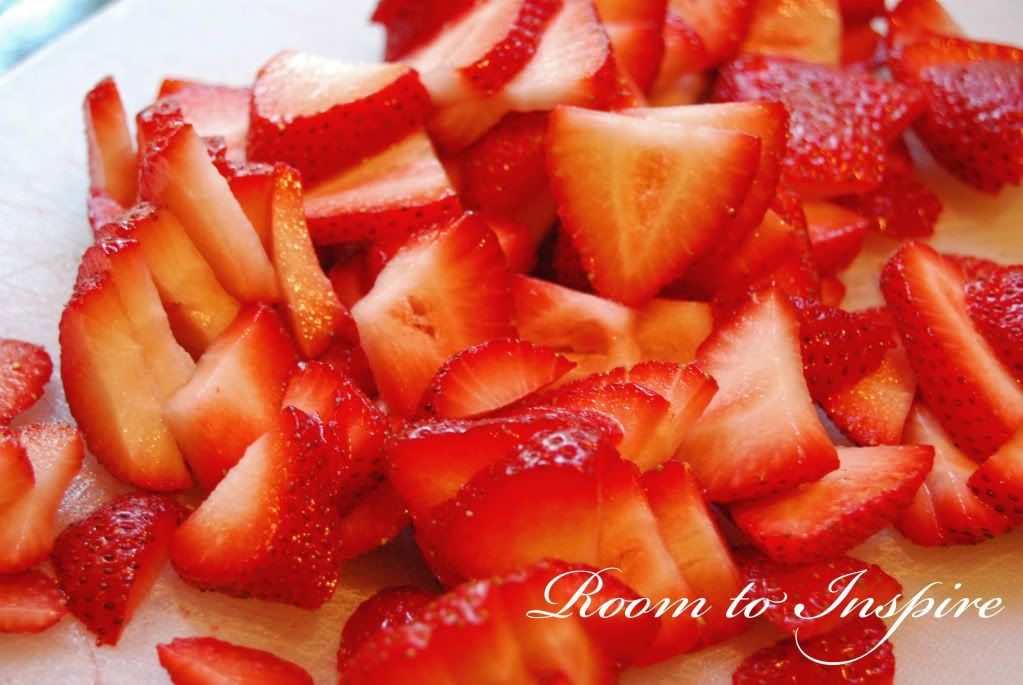
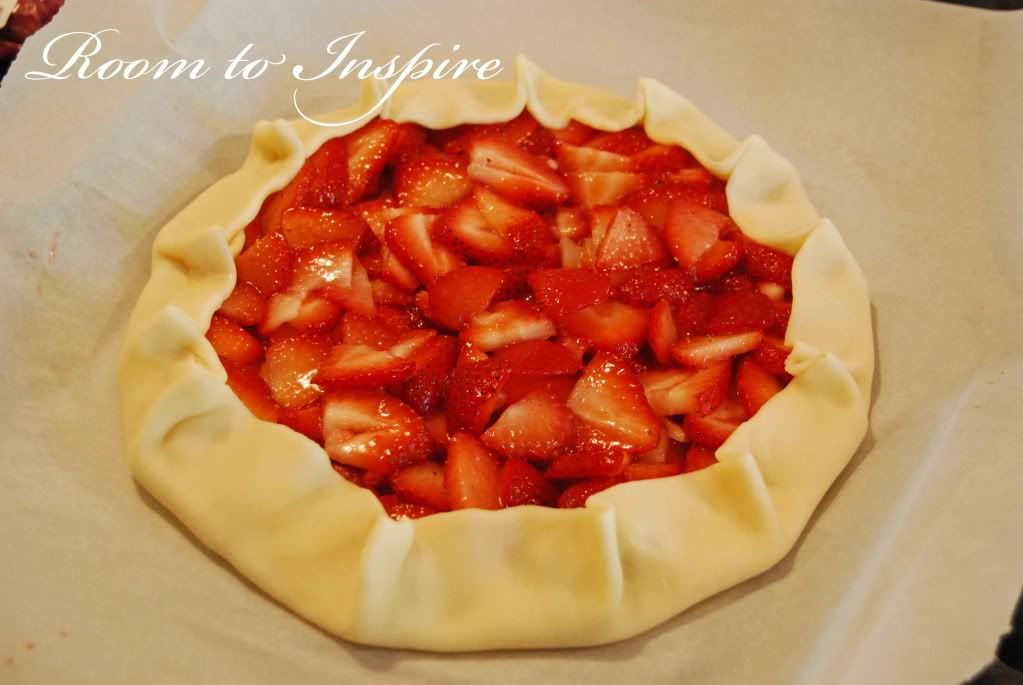
I simply unrolled my pie crust onto a parchment-lined baking sheet. Then I cut the strawberries lengthwise into slices.
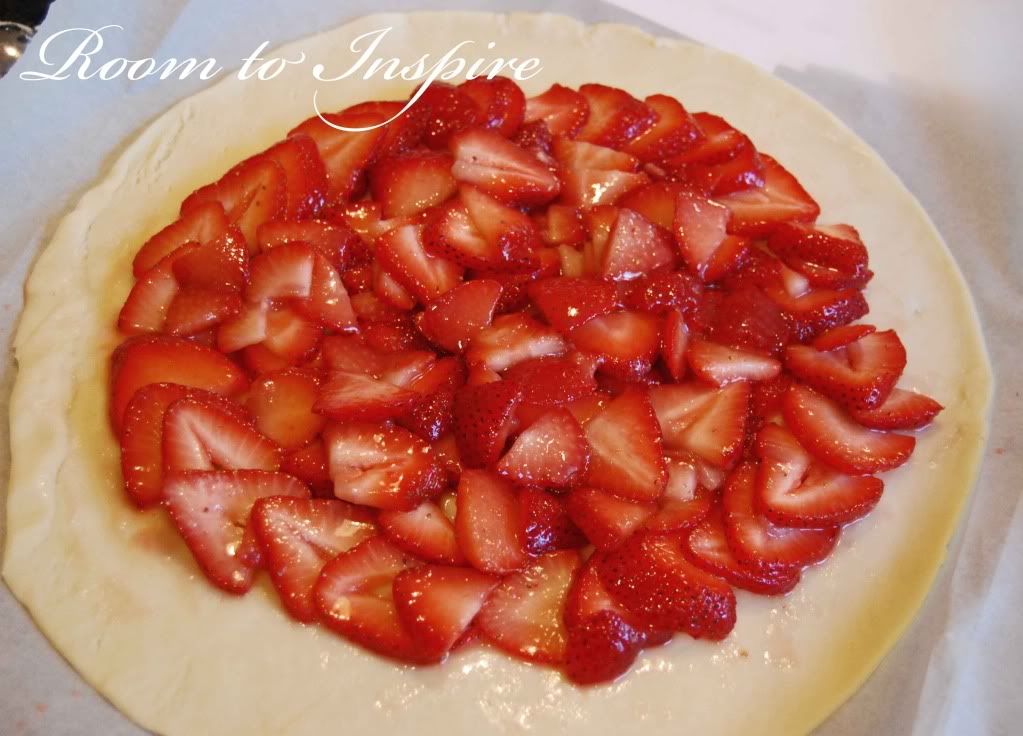
 Then toss slices with 1/4 cup sugar and the cornstarch, and immediately arrange them in concentric circles on dough. Start 1 inch from edge, overlapping slices slightly (as you can see, I started the outside edge into a circle and then just piled the rest in the center - I know loser way).

 Fold edge of dough over berries. Refrigerate for 15 minutes.
 Whisk together yolk and water. Brush dough with the egg wash, and sprinkle with remaining 1 tablespoon sugar. Dot berries with butter. Bake until crust is golden brown, 40 to 45 minutes.

 We served it room temperature and it was great. It pretty much tasted like strawberry jam in a pie crust - I mean how could you really go wrong with strawberries, sugar and crust! The basil infused cream was not a huge hit, next time I will simply combine the cream, sugar and mascarpone.
I linked this post to:
Lucky Linky Tuesday at Lucky Star Lane


Wednesday, July 28, 2010

Less is More ~

Here are a few simple ideas on how to display all of your lovely flowers from your Summer garden...


Better Homes & Gardens

 Real Simple


Country Living


Woman's Day

So I recently realized that I missed my blog anniversary - which I couldn't believe! To celebrate, I have a few giveaways planned for next week!


Monday, July 26, 2010

Be Inspired Party Wrap Up ~

I wanted to highlight a few great projects from the Be Inspired link party from this month!


You must see this amazing wardrobe that Kristine at The Painted Hive completely restored:

I love this stenciled mirror from Terrell at Frou Frou Decor:

Check out this adorable petal tee that Jeccica from A Few of My Favorite Things created:


Lisa at Moore Minutes showed off a fun Retro Ice Cream Party:

And Alison at Oopsey Daisy showed us how to create the perfect rustic sign:

Thank you everyone for linking up and start creating those great projects to show off next month! 


Thursday, July 22, 2010

Summer Vegetable Casserole ~

I made this yummy casserole as a side for dinner this week and it was a hit with the whole family...I mean the kiddos inhaled it! So I thought I would share the recipe from Food & Wine magazine. 

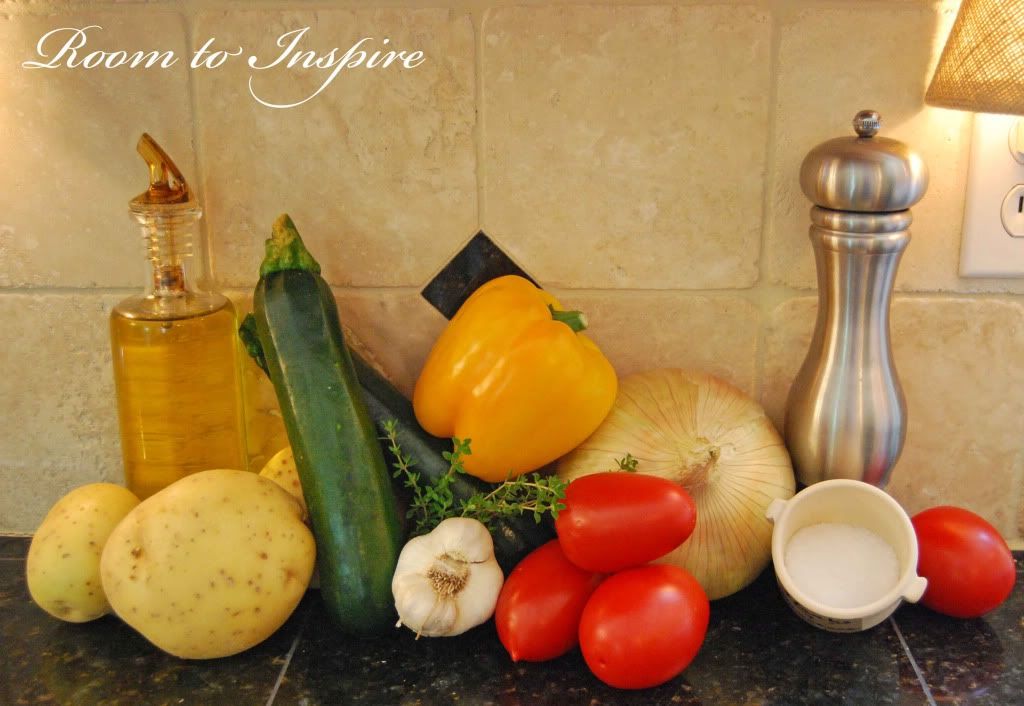
 Ingredients:
Extra-virgin olive oil, for drizzling
1/2 pound Yukon Gold potatoes, peeled and sliced 1/4 inch thick
Salt and freshly ground pepper
1 yellow bell pepper, thinly sliced
1 small onion, thinly sliced 
1 large garlic clove, minced 
1 teaspoon thyme leaves 
1/2 pound plum tomatoes, sliced 1/4 inch thick 
2 small zucchini (1/2 pound), sliced on the diagonal 1/4 inch thick 
3 tablespoons freshly grated Parmigiano-Reggiano cheese 
 
 
As for the directions, it is really a layering act:
Preheat the oven to 350°. Coat a 9-inch baking dish with olive oil. Spread the potatoes in the dish in an even layer; drizzle with oil and season with salt and pepper. 
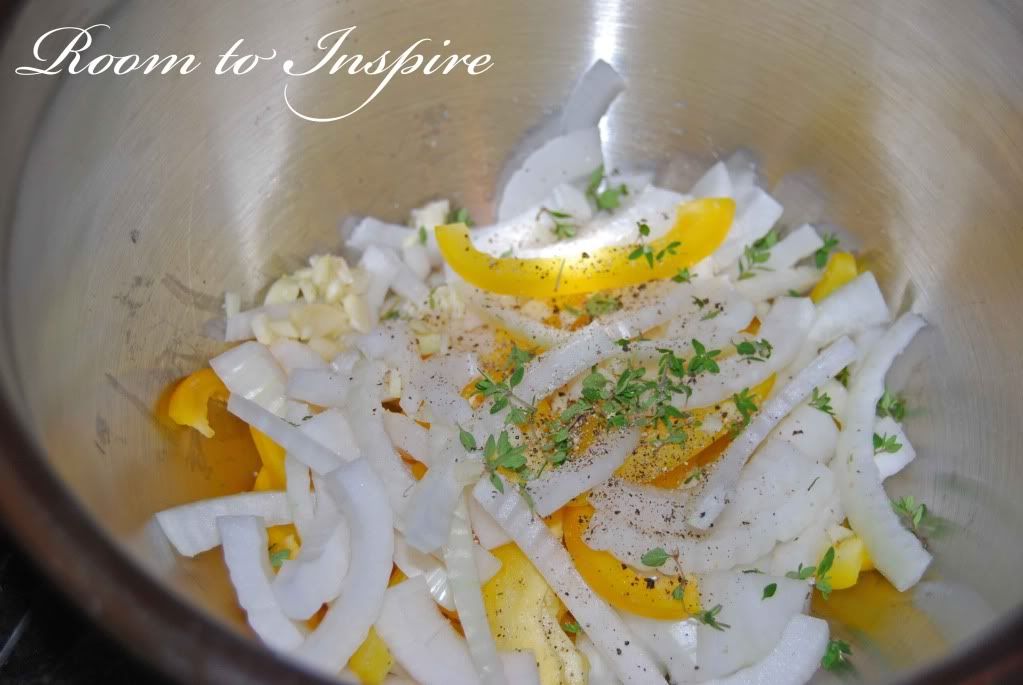
In a bowl, combine the bell pepper, onion, garlic and thyme and season with salt and pepper.
 
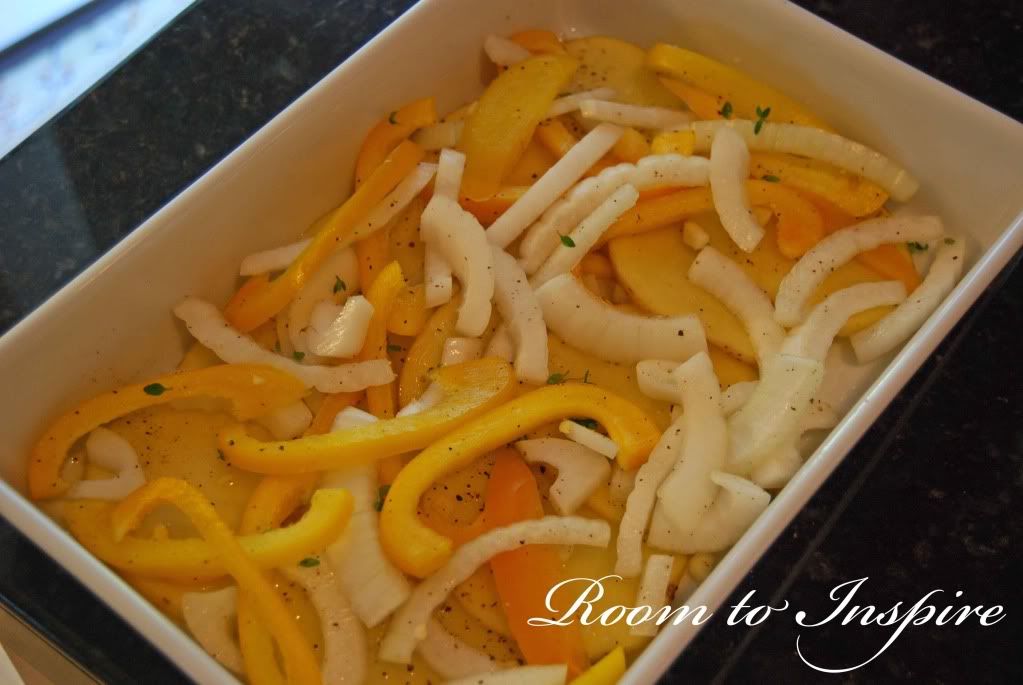
 Arrange two-thirds of the bell pepper mixture over the potatoes and drizzle with oil.
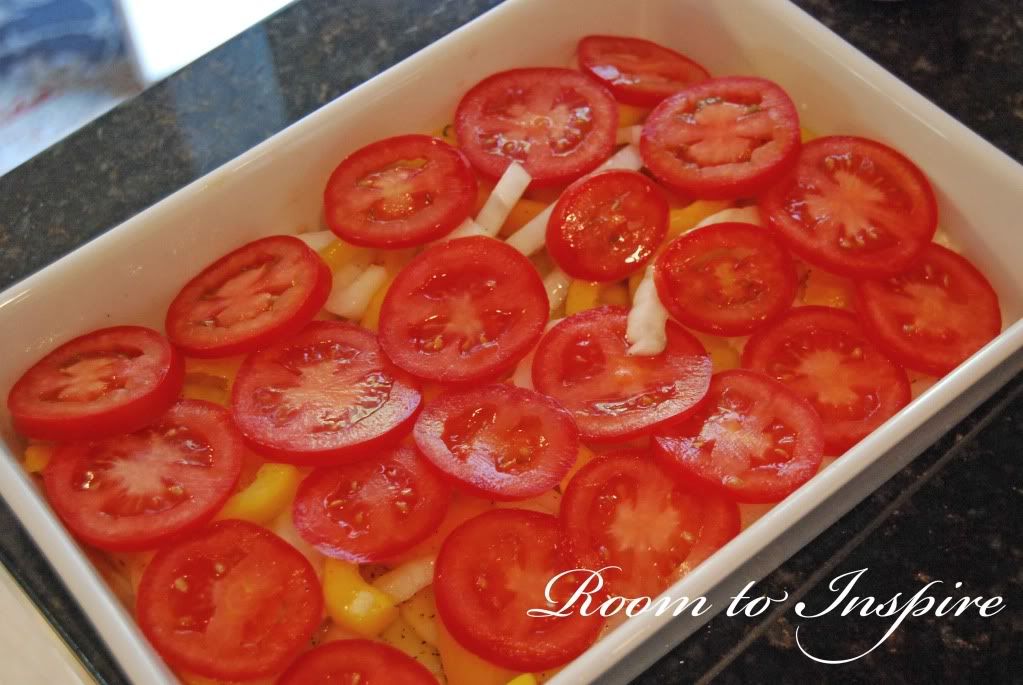
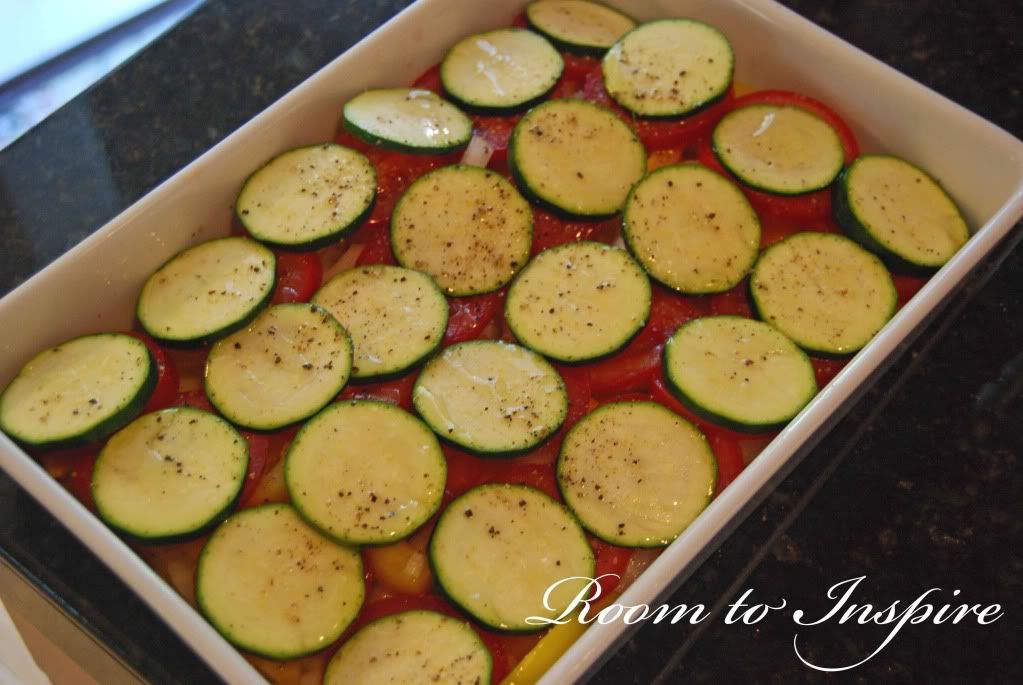
Top with the tomatoes 
 
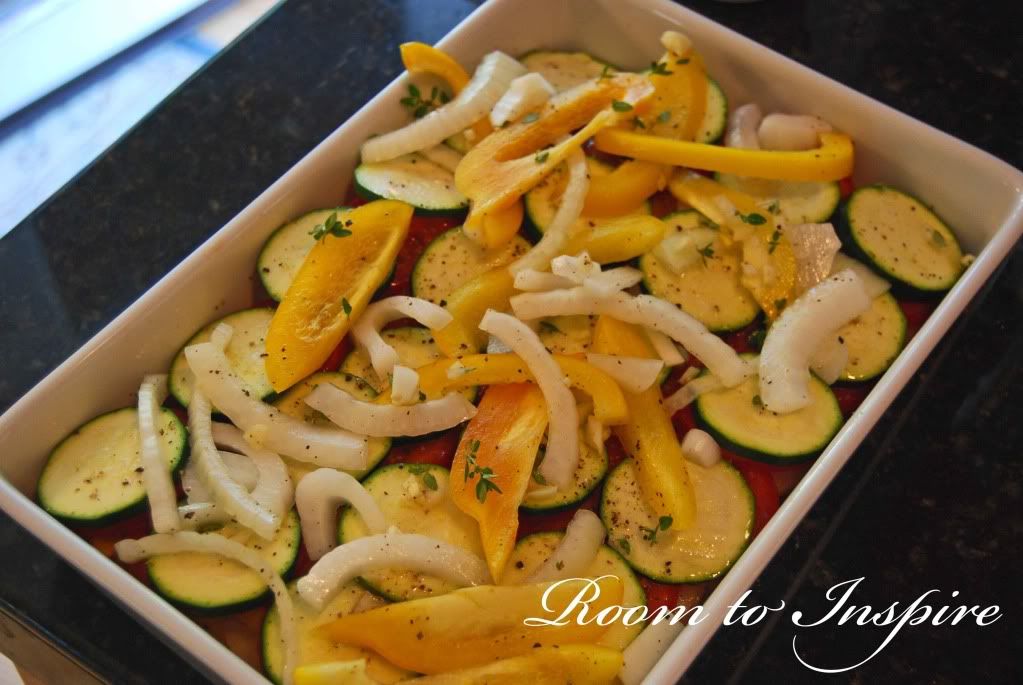
and the zucchini; drizzle with oil and season with salt and pepper. 
 
Cover with the remaining bell pepper mixture 
 
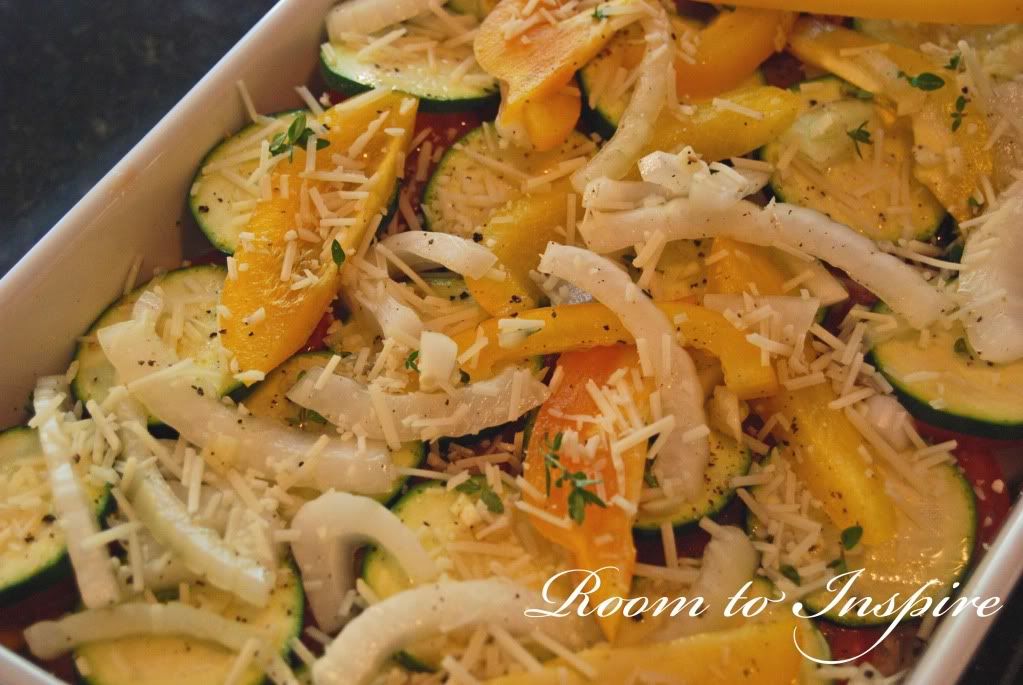
and sprinkle with the cheese.

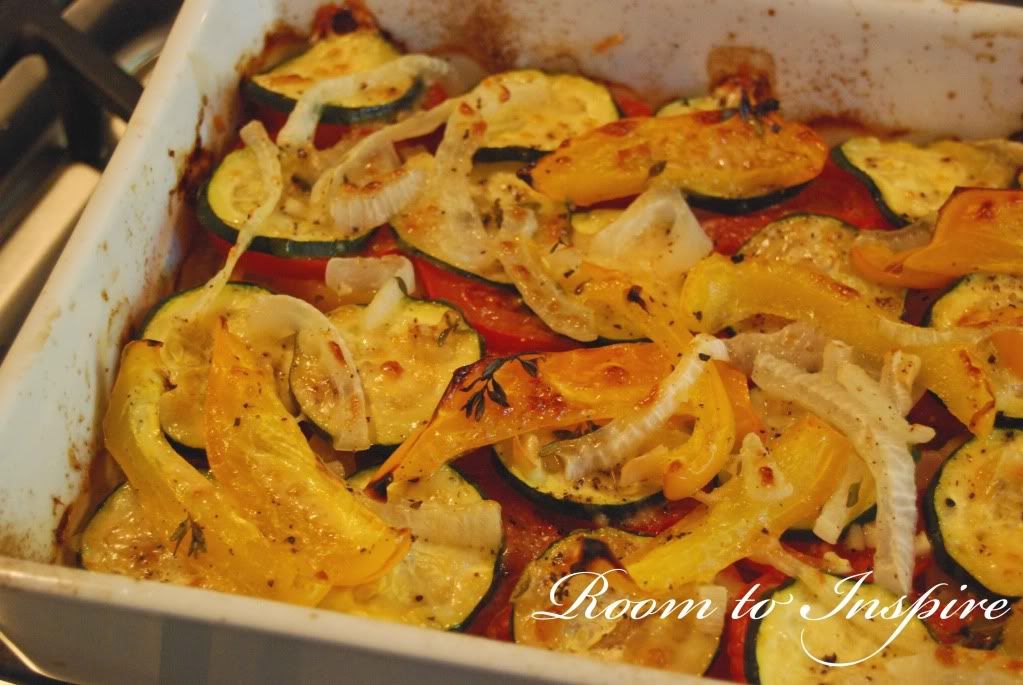
Cover the casserole with foil and bake for 40 minutes. Increase the oven temperature to 425°. Uncover the casserole and bake for about 20 minutes longer, until the vegetables are tender and glazed on top. Let stand for 10 minutes. Serve warm. 
 
I will definitely make it again, but the next time I think I might eliminate the tomatoes. We grill veggies pretty much every night in the Summer, so this was a welcome change and something you could do year round. 


LinkWithin

Related Posts with Thumbnails